ALL AMERICAN TIGER
Even though daylilies survive on neglect they will not thrive therefore to achieve healthy foliage, quality flowers and repeat blooming they are dependent on proper culture.
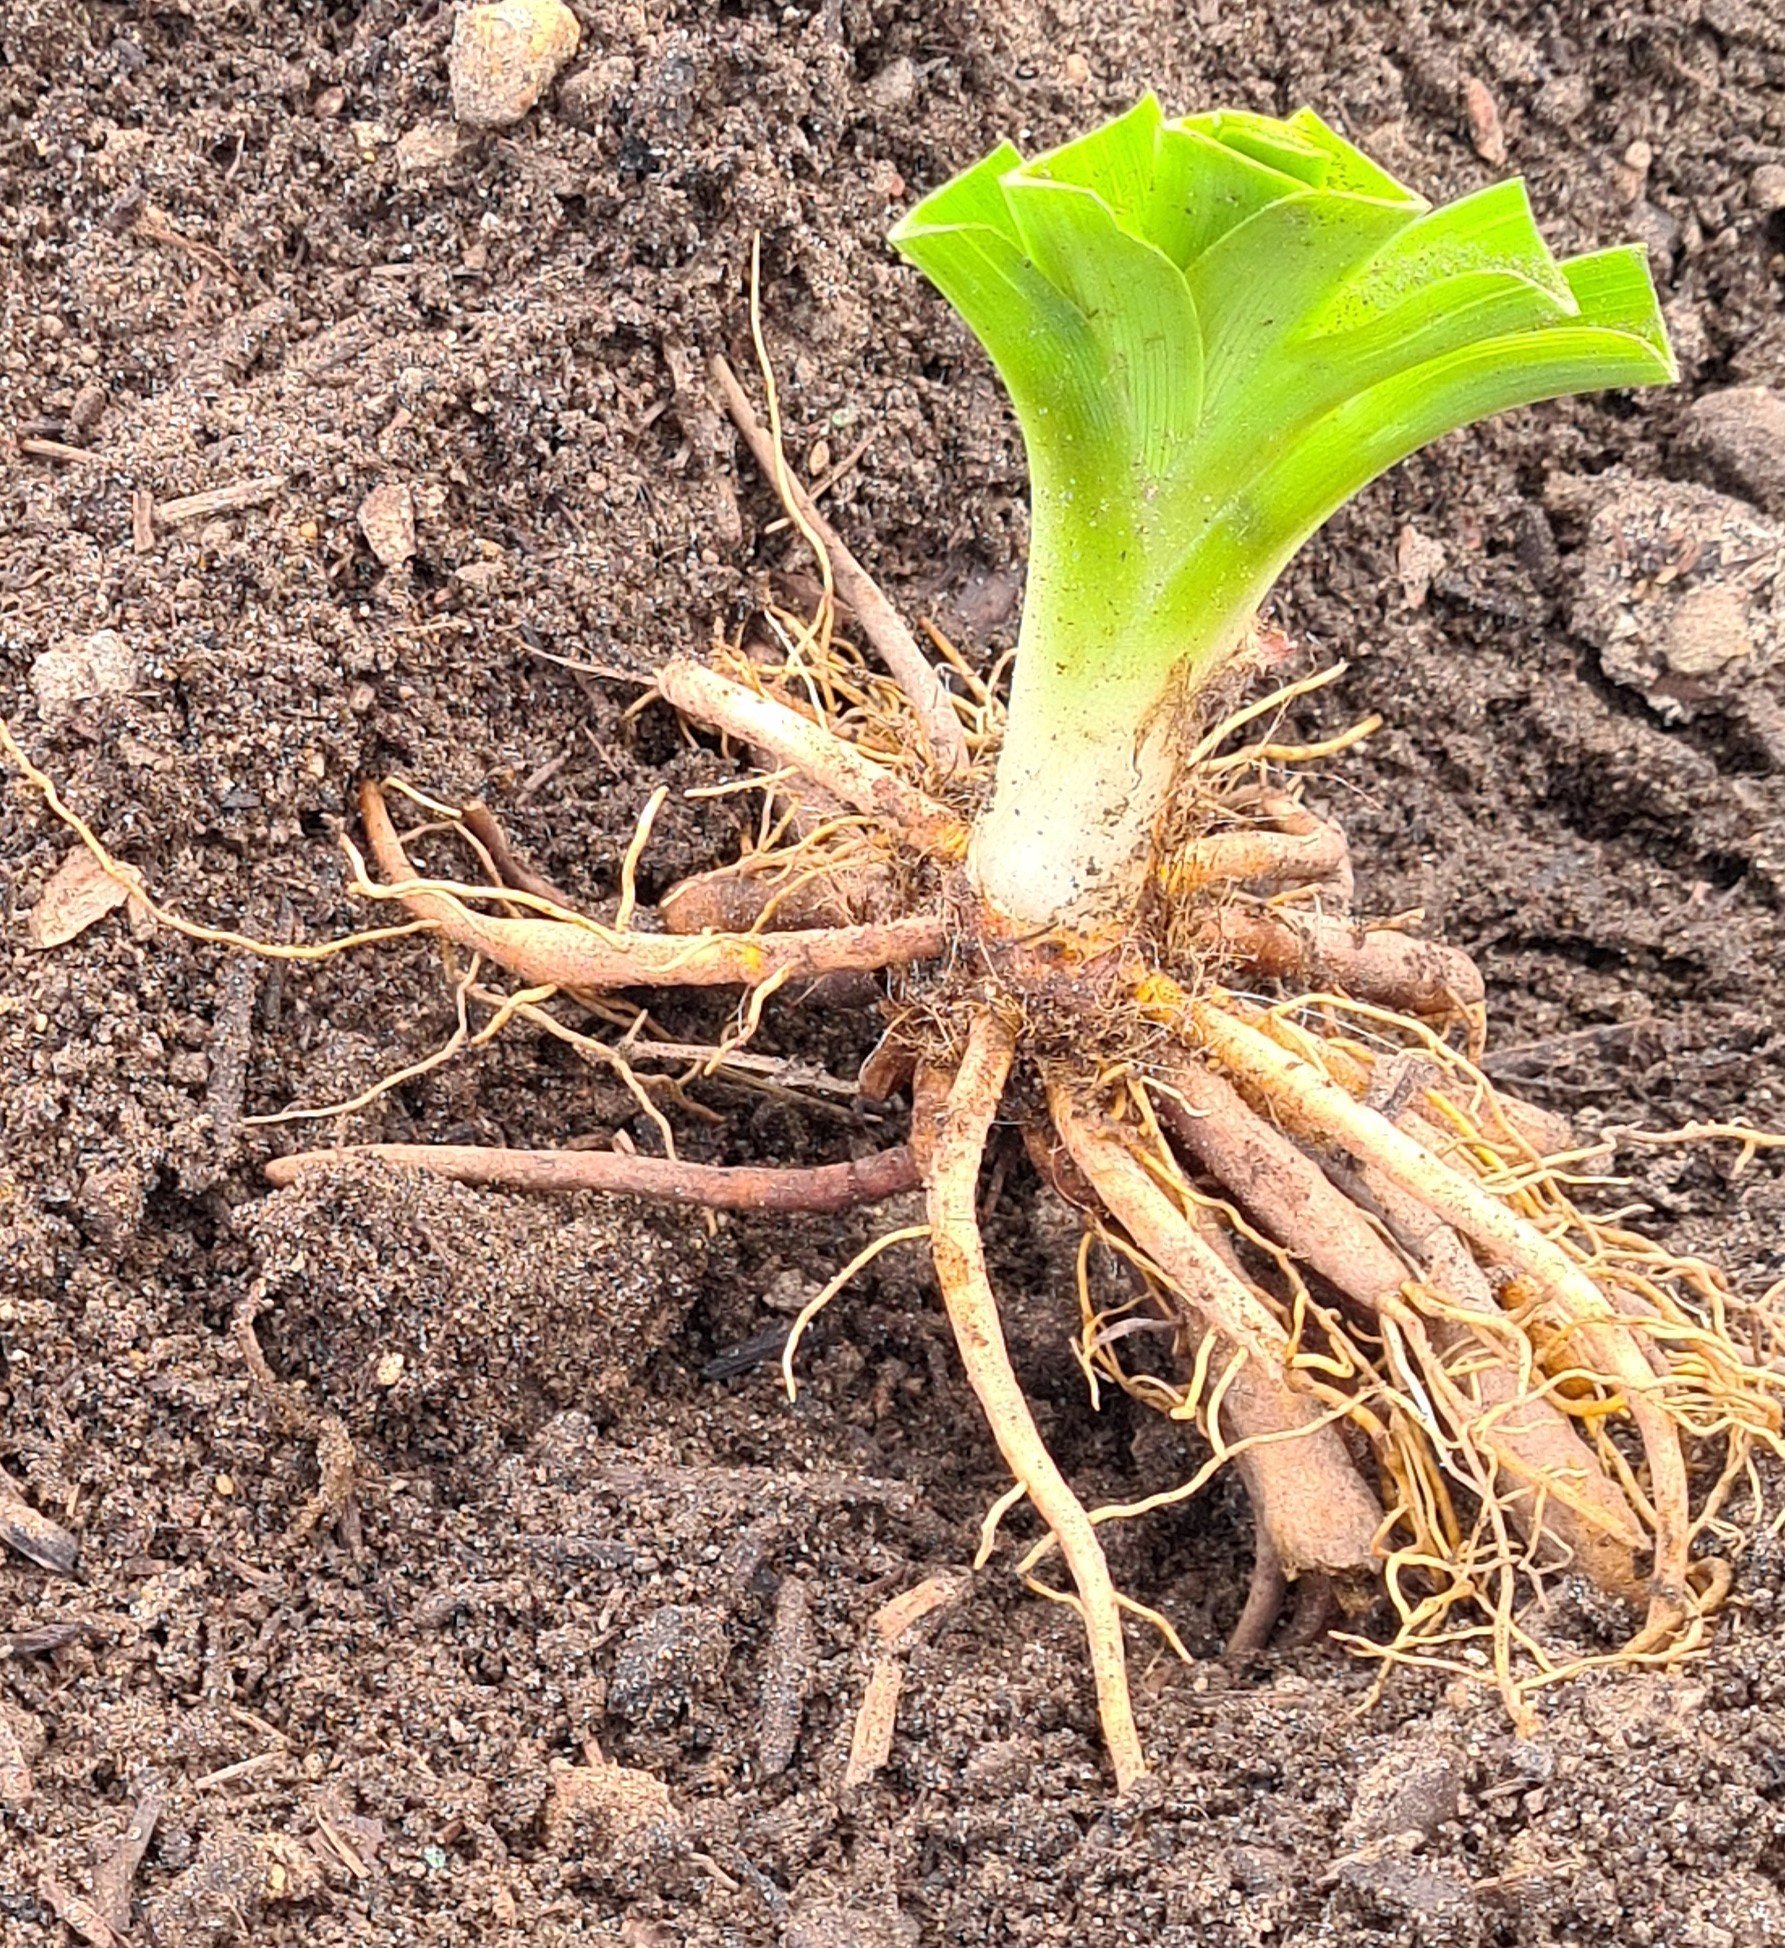
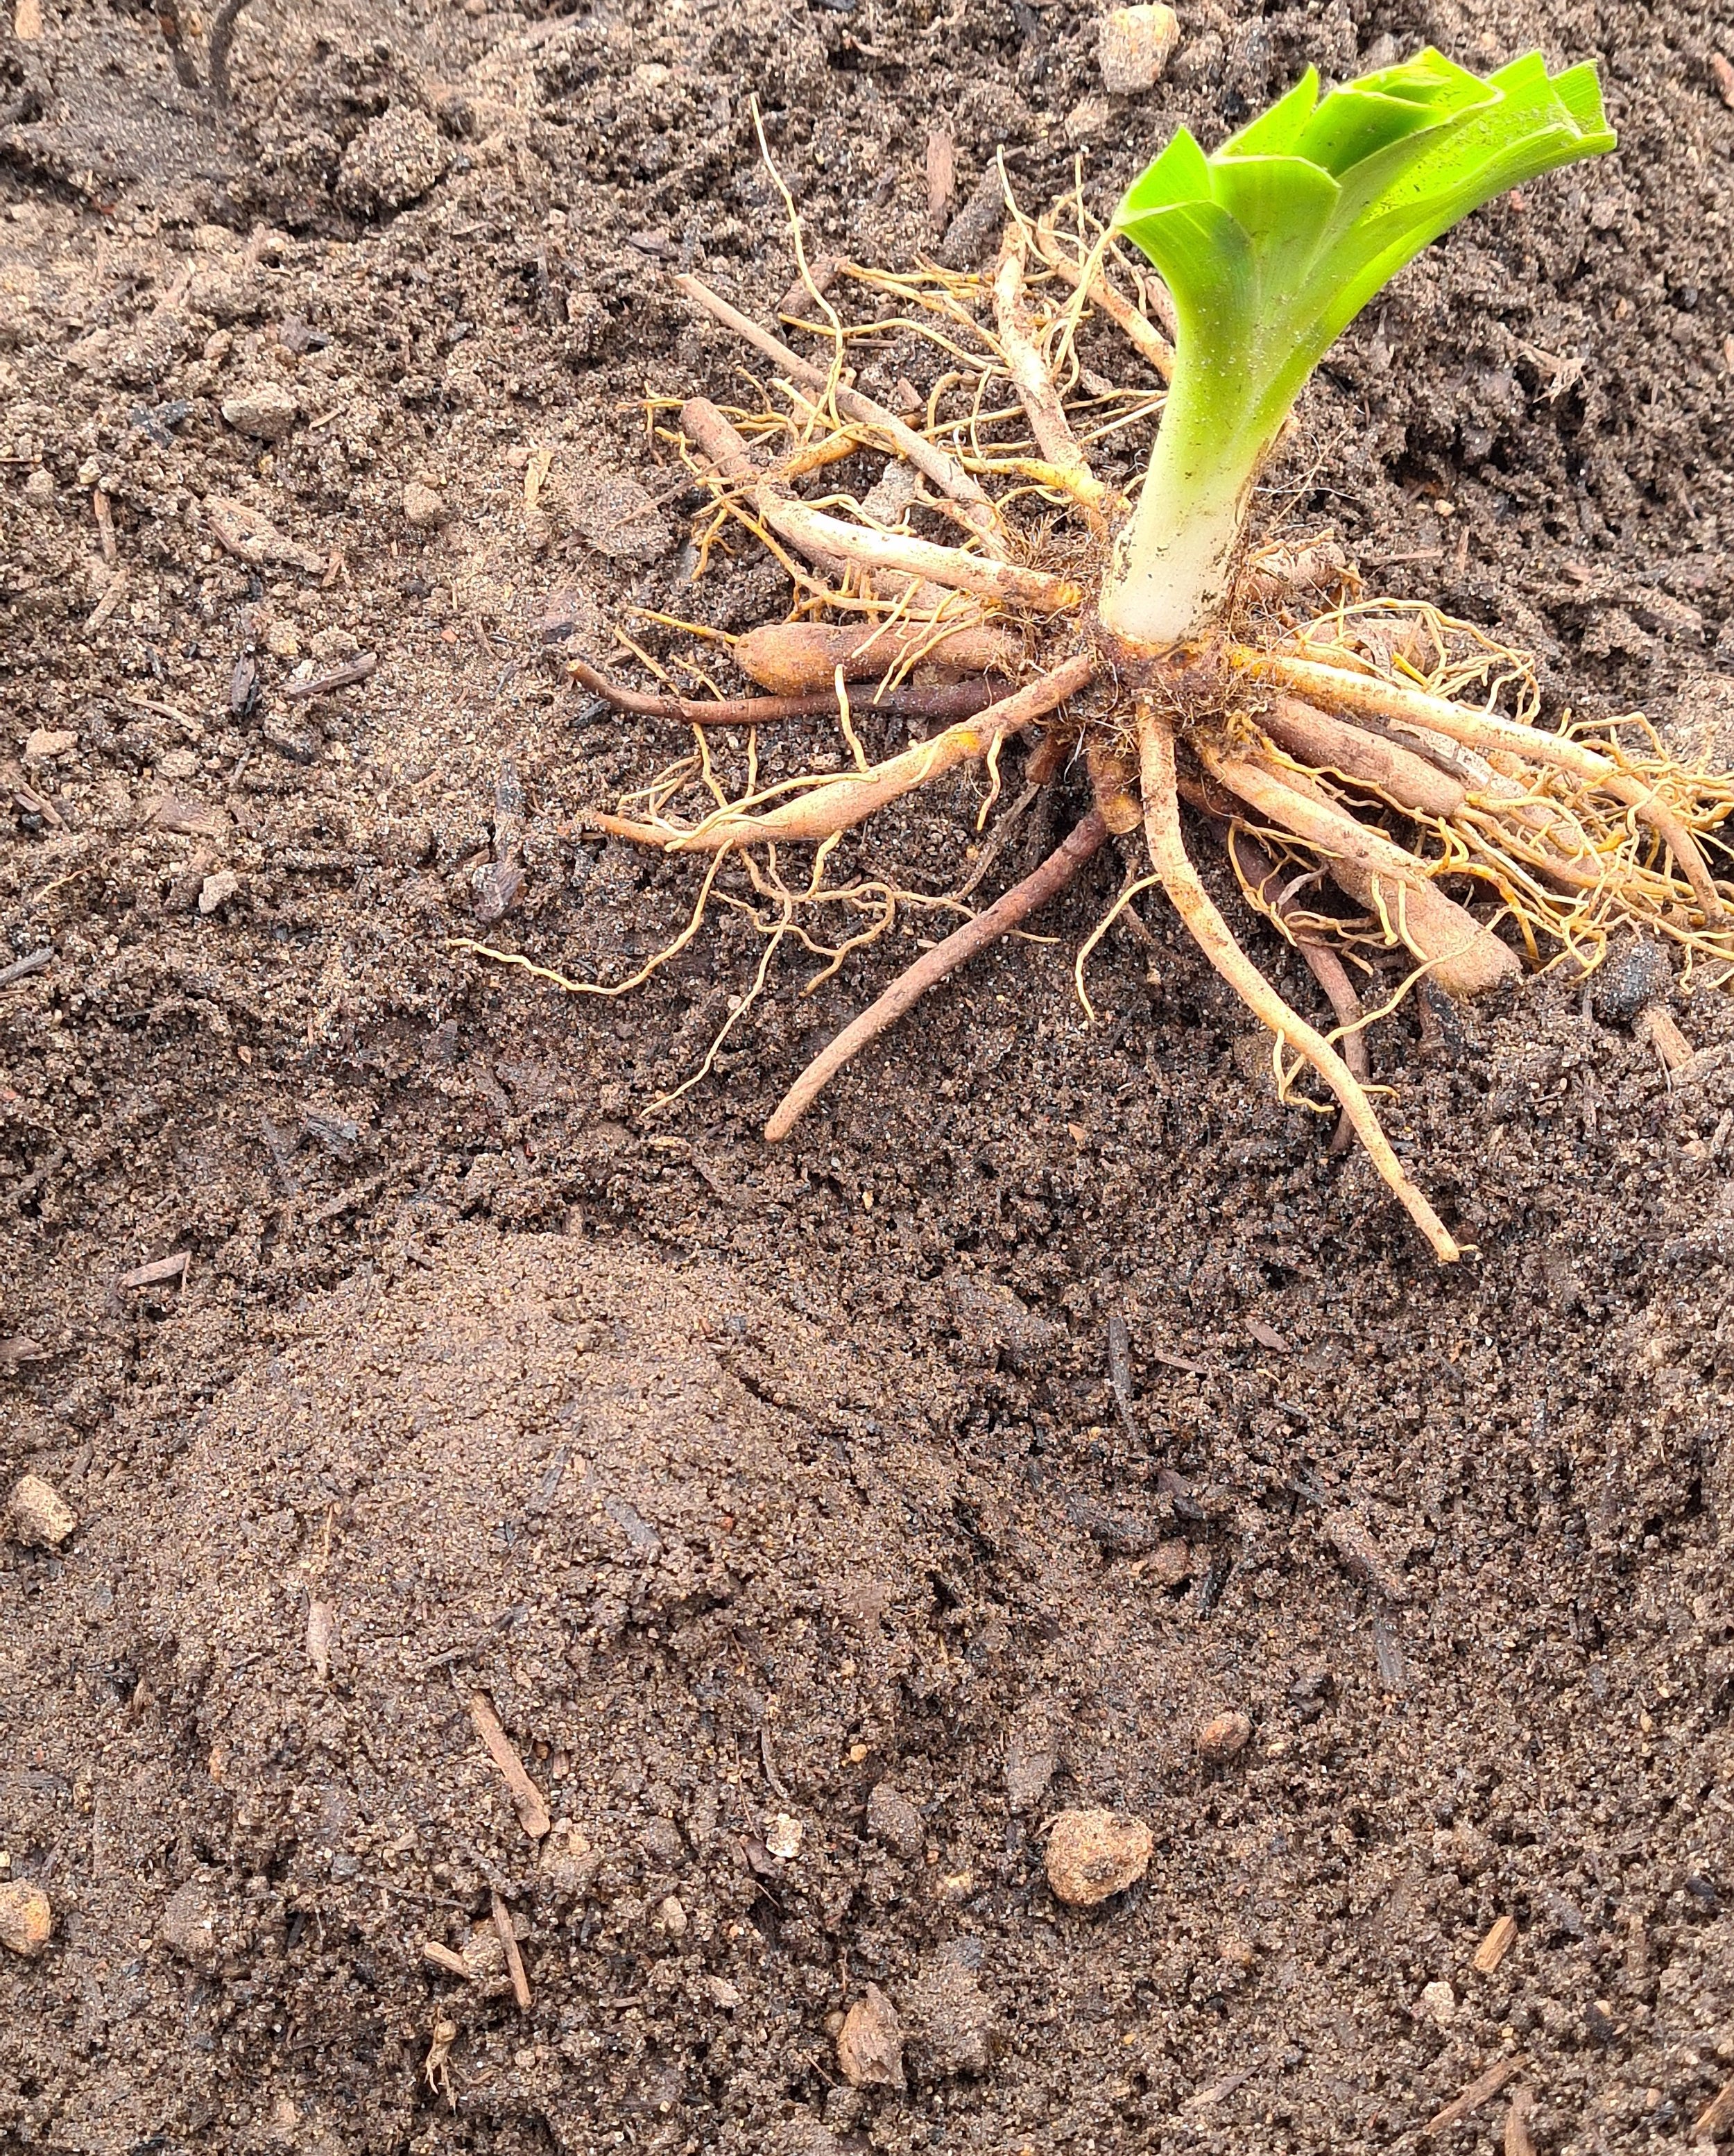
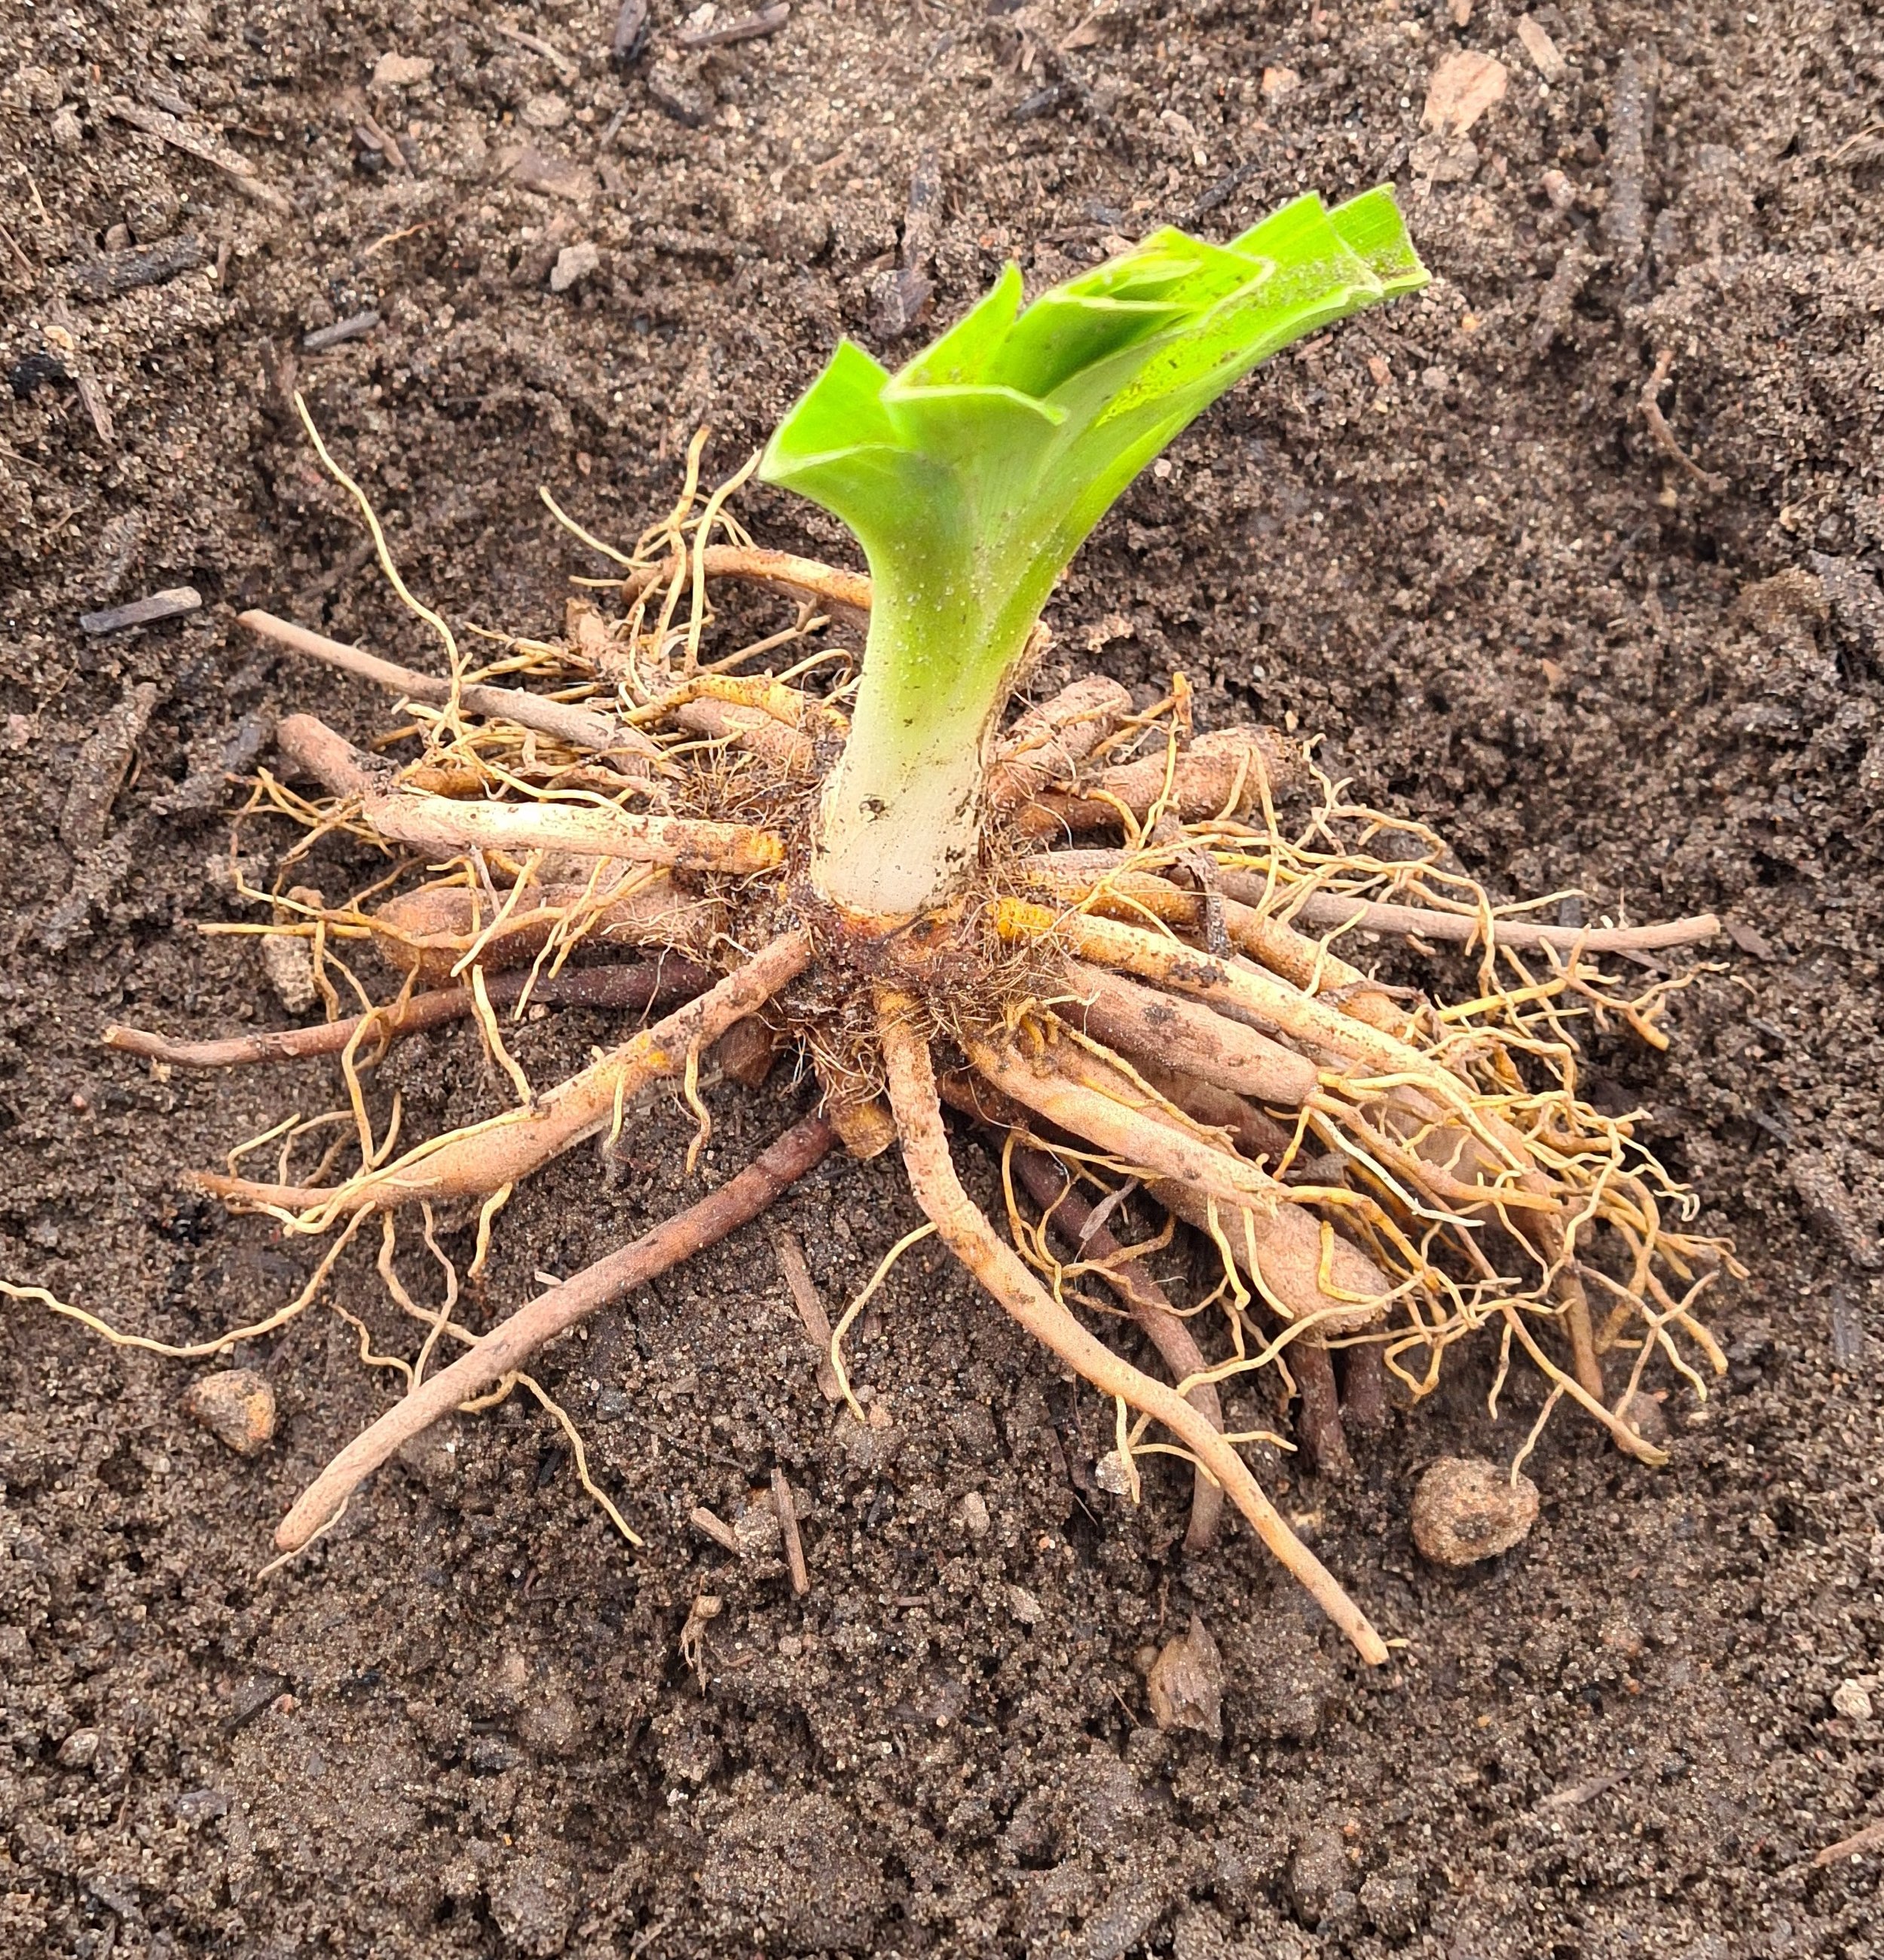
If you acquired bare root daylilies, it is best to soak them for 6 hours or overnight in water or a weak seaweed solution to rehydrate and reduce transplant shock. Keep the crown above the water. Plant as soon as possible.
If you order and receive your daylilies in the heat of summer, it may be better to pot them up first to re-establish them before planting out.
LOCATION: To achieve good growth and flowering, plant daylilies where they receive full sun for at least half the day. All varieties grow quite well if they receive sun during the earlier part of the day and are partially shaded from the late afternoon sun, this will also prolong the flower colour which can fade when it is hot. In heavy shade the plant will produce an abundance of foliage with little or no flowers.
SOIL: Daylilies will grow in a variety of soils ranging from light, sandy soils to heavy clays but to get your daylilies to thrive you may need to improve your soil. Aim for a moderately fertile, friable loam soil.
Always incorporate compost and aged cow manure, before planting to achieve a good soil structure. Applying soil wetter is also of great benefit if your soil is hydrophobic. For sandy soil, an application of kaolin or bentonite clay will definitely help with soil structure and moisture retention along with organic matter. If your soil is heavy clay, applications of gypsum will help open it up along with loads of organic matter.
A pH range of 6.0-6.5 is ideal for daylilies. This is mildly acidic. An application of lime may be needed if your soil falls below 5.5. To reduce your pH is a little harder to achieve and maintain if your soil is quite alkaline but there are products that will help but you may need to monitor and re-apply. Bringing in garden soil from a soil company would be an easier.
Do not plant daylilies in poorly drained soil. If drainage is a problem, raise the growing area above ground level.
PLANTING TIME: Daylilies can be planted any time of the year, especially in cool or temperate areas but the best time to plant them is autumn when the heat of summer is over. Cooler soil temperatures favour root growth thus encouraging early establishment and flowers in the Spring.
Regardless of when daylilies are transplanted, water them routinely to keep the soil moist not wet as this will encourage new root growth.
PLANTING: Space plants 30-60cm apart depending on variety. Healthy plants and vigorous varieties will soon fill in the space and this spacing will prevent over-crowding and the need to dig and divide the plant sooner rather than later.
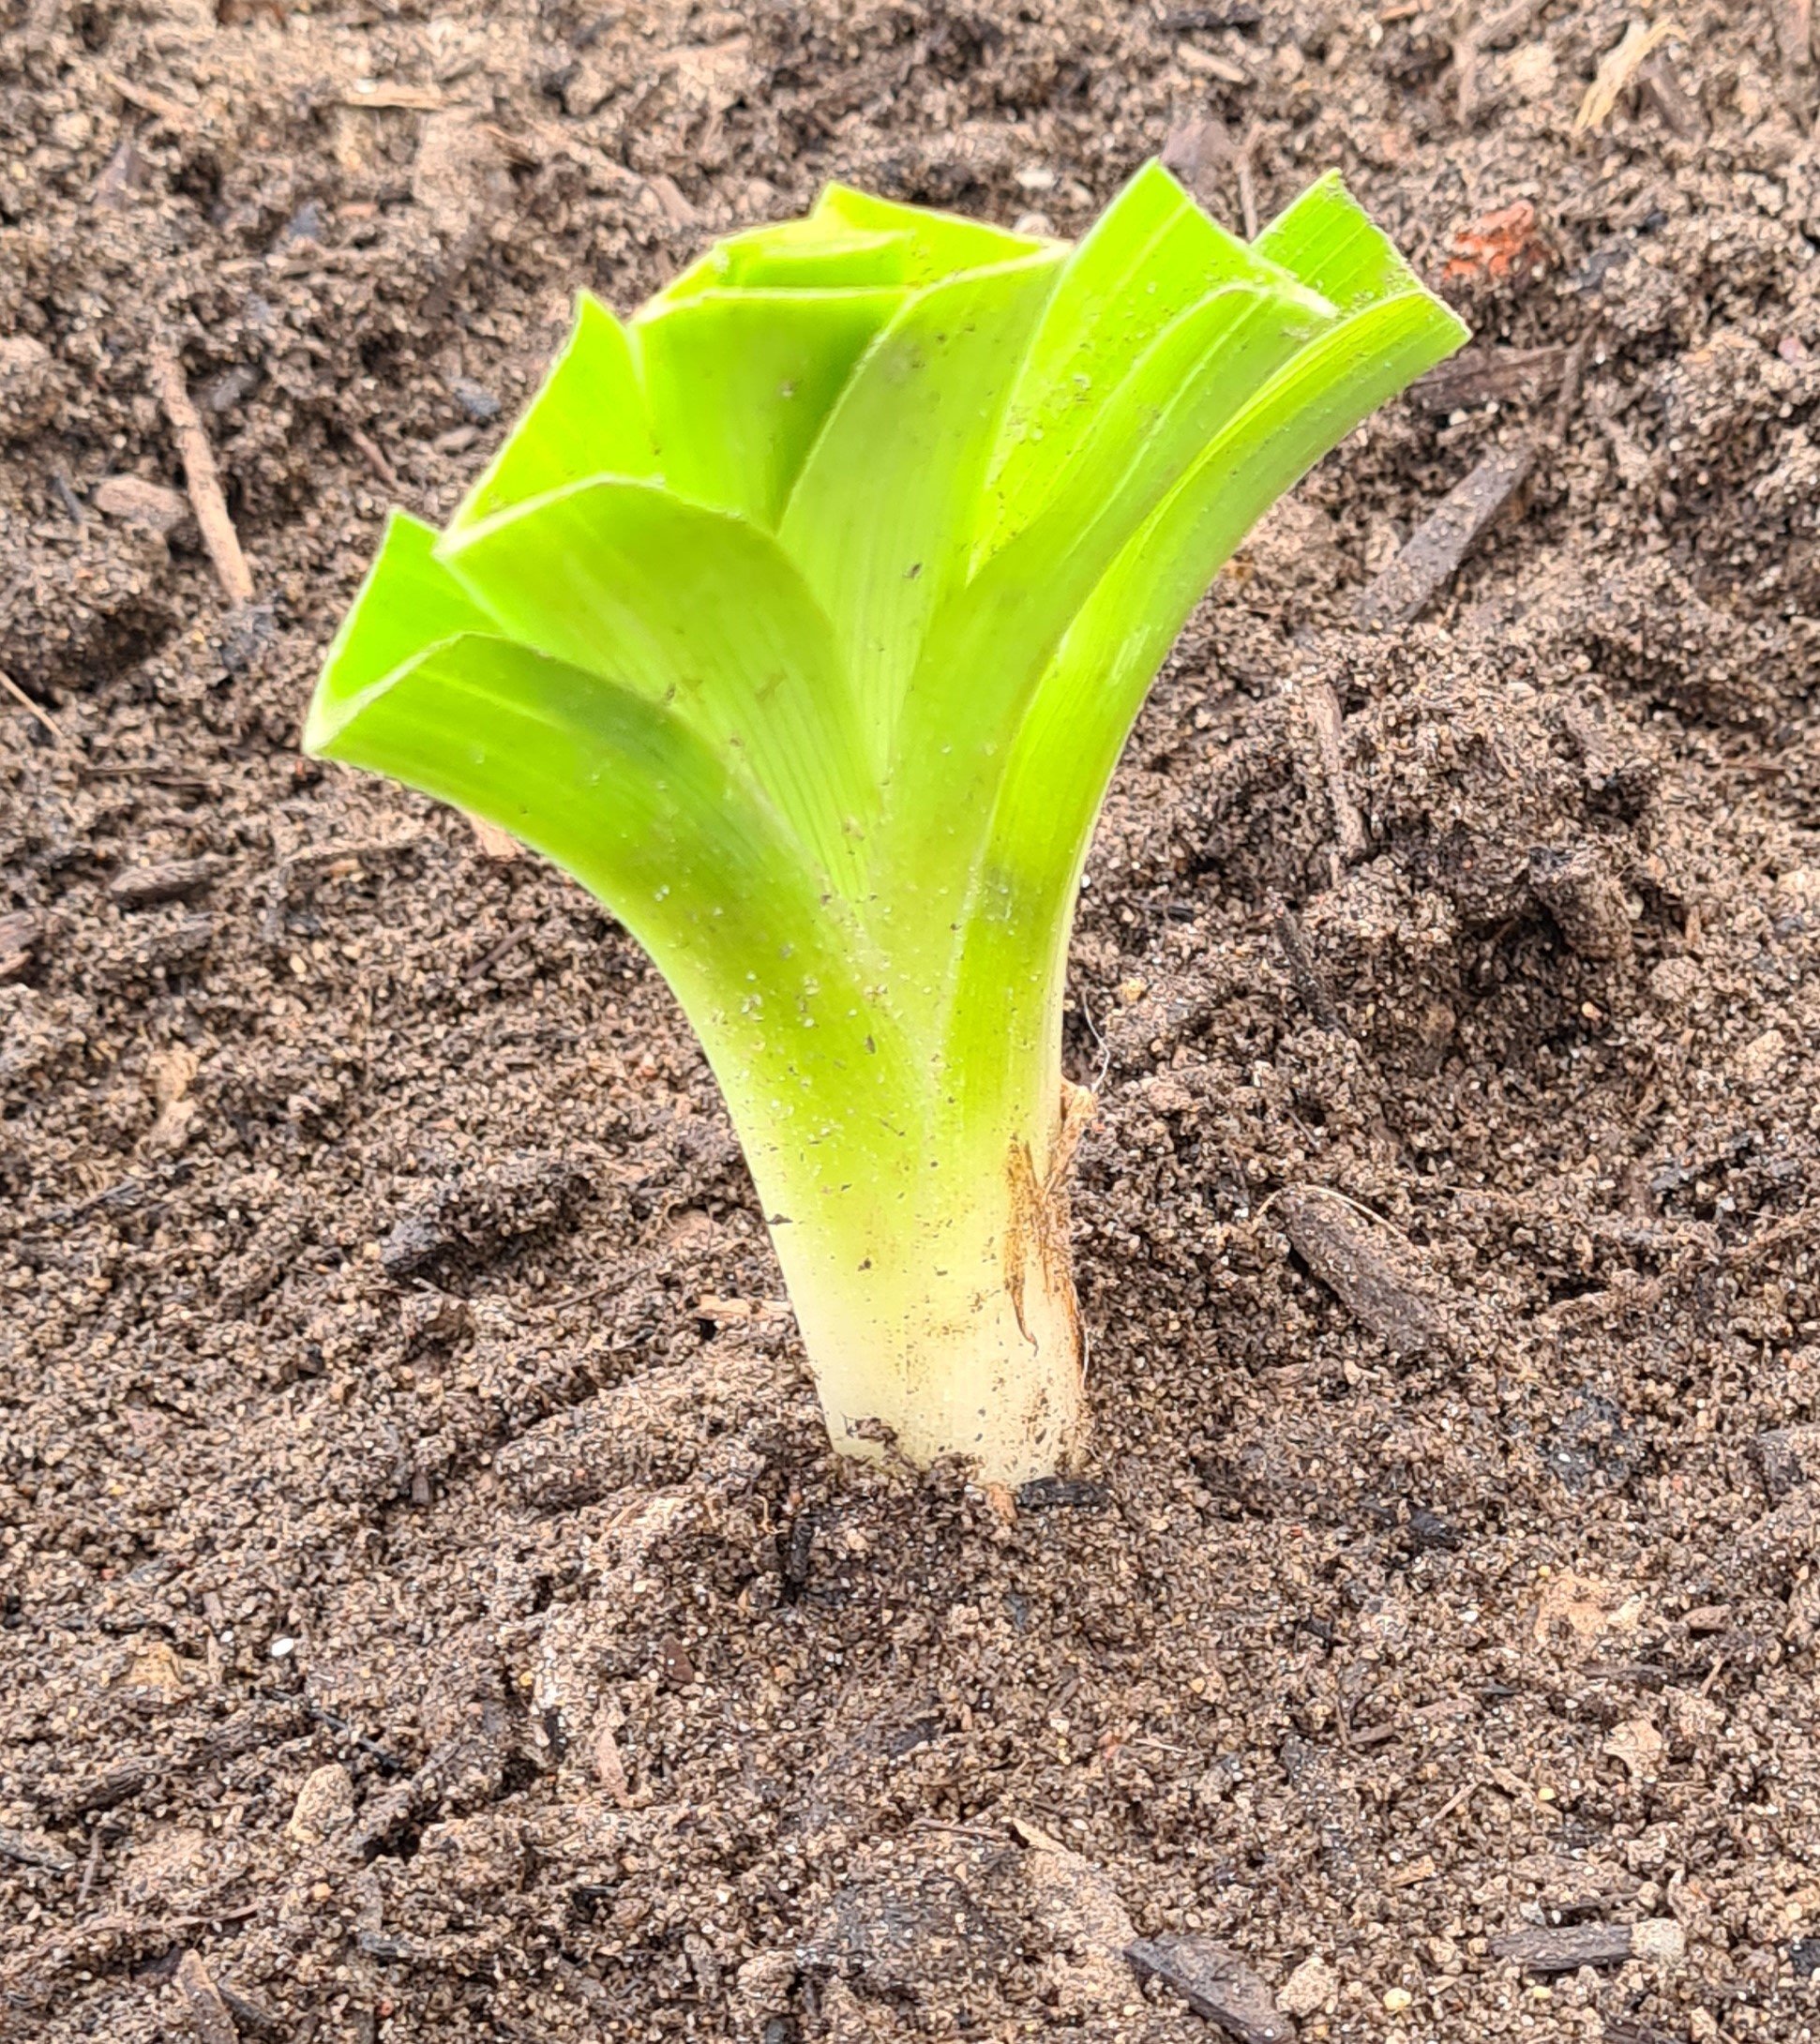
Dig the hole wider and deeper than the root system. Make a cone shape mound in the bottom of the hole then set the plant over the mound with its roots trailing down, adjusting the height so the crown (where the leaves meet the roots), is not more than 2.5cm below the surface. Back fill and water in well with seaweed solution. Keep plants watered and soil moist not wet while establishing. You will see new growth coming from the centre of the plant.
MULCHING: In our hot dry climate, mulching is a must for water retention and maintaining a cooler soil temperature. Which mulch you use is up to you. I like to use lupin mulch. As the mulch breaks down, it will also help to improve the soil.
WATERING: Daylilies are drought tolerant once established, due to their fibrous, fleshy and extensive root system. To get the best number of blooms, bloom size, overall vigor and the ability of many varieties to rebloom it is necessary to water the plants twice a week (dependant on your soil type) in summer and when rainfall is low and especially during the growing season.
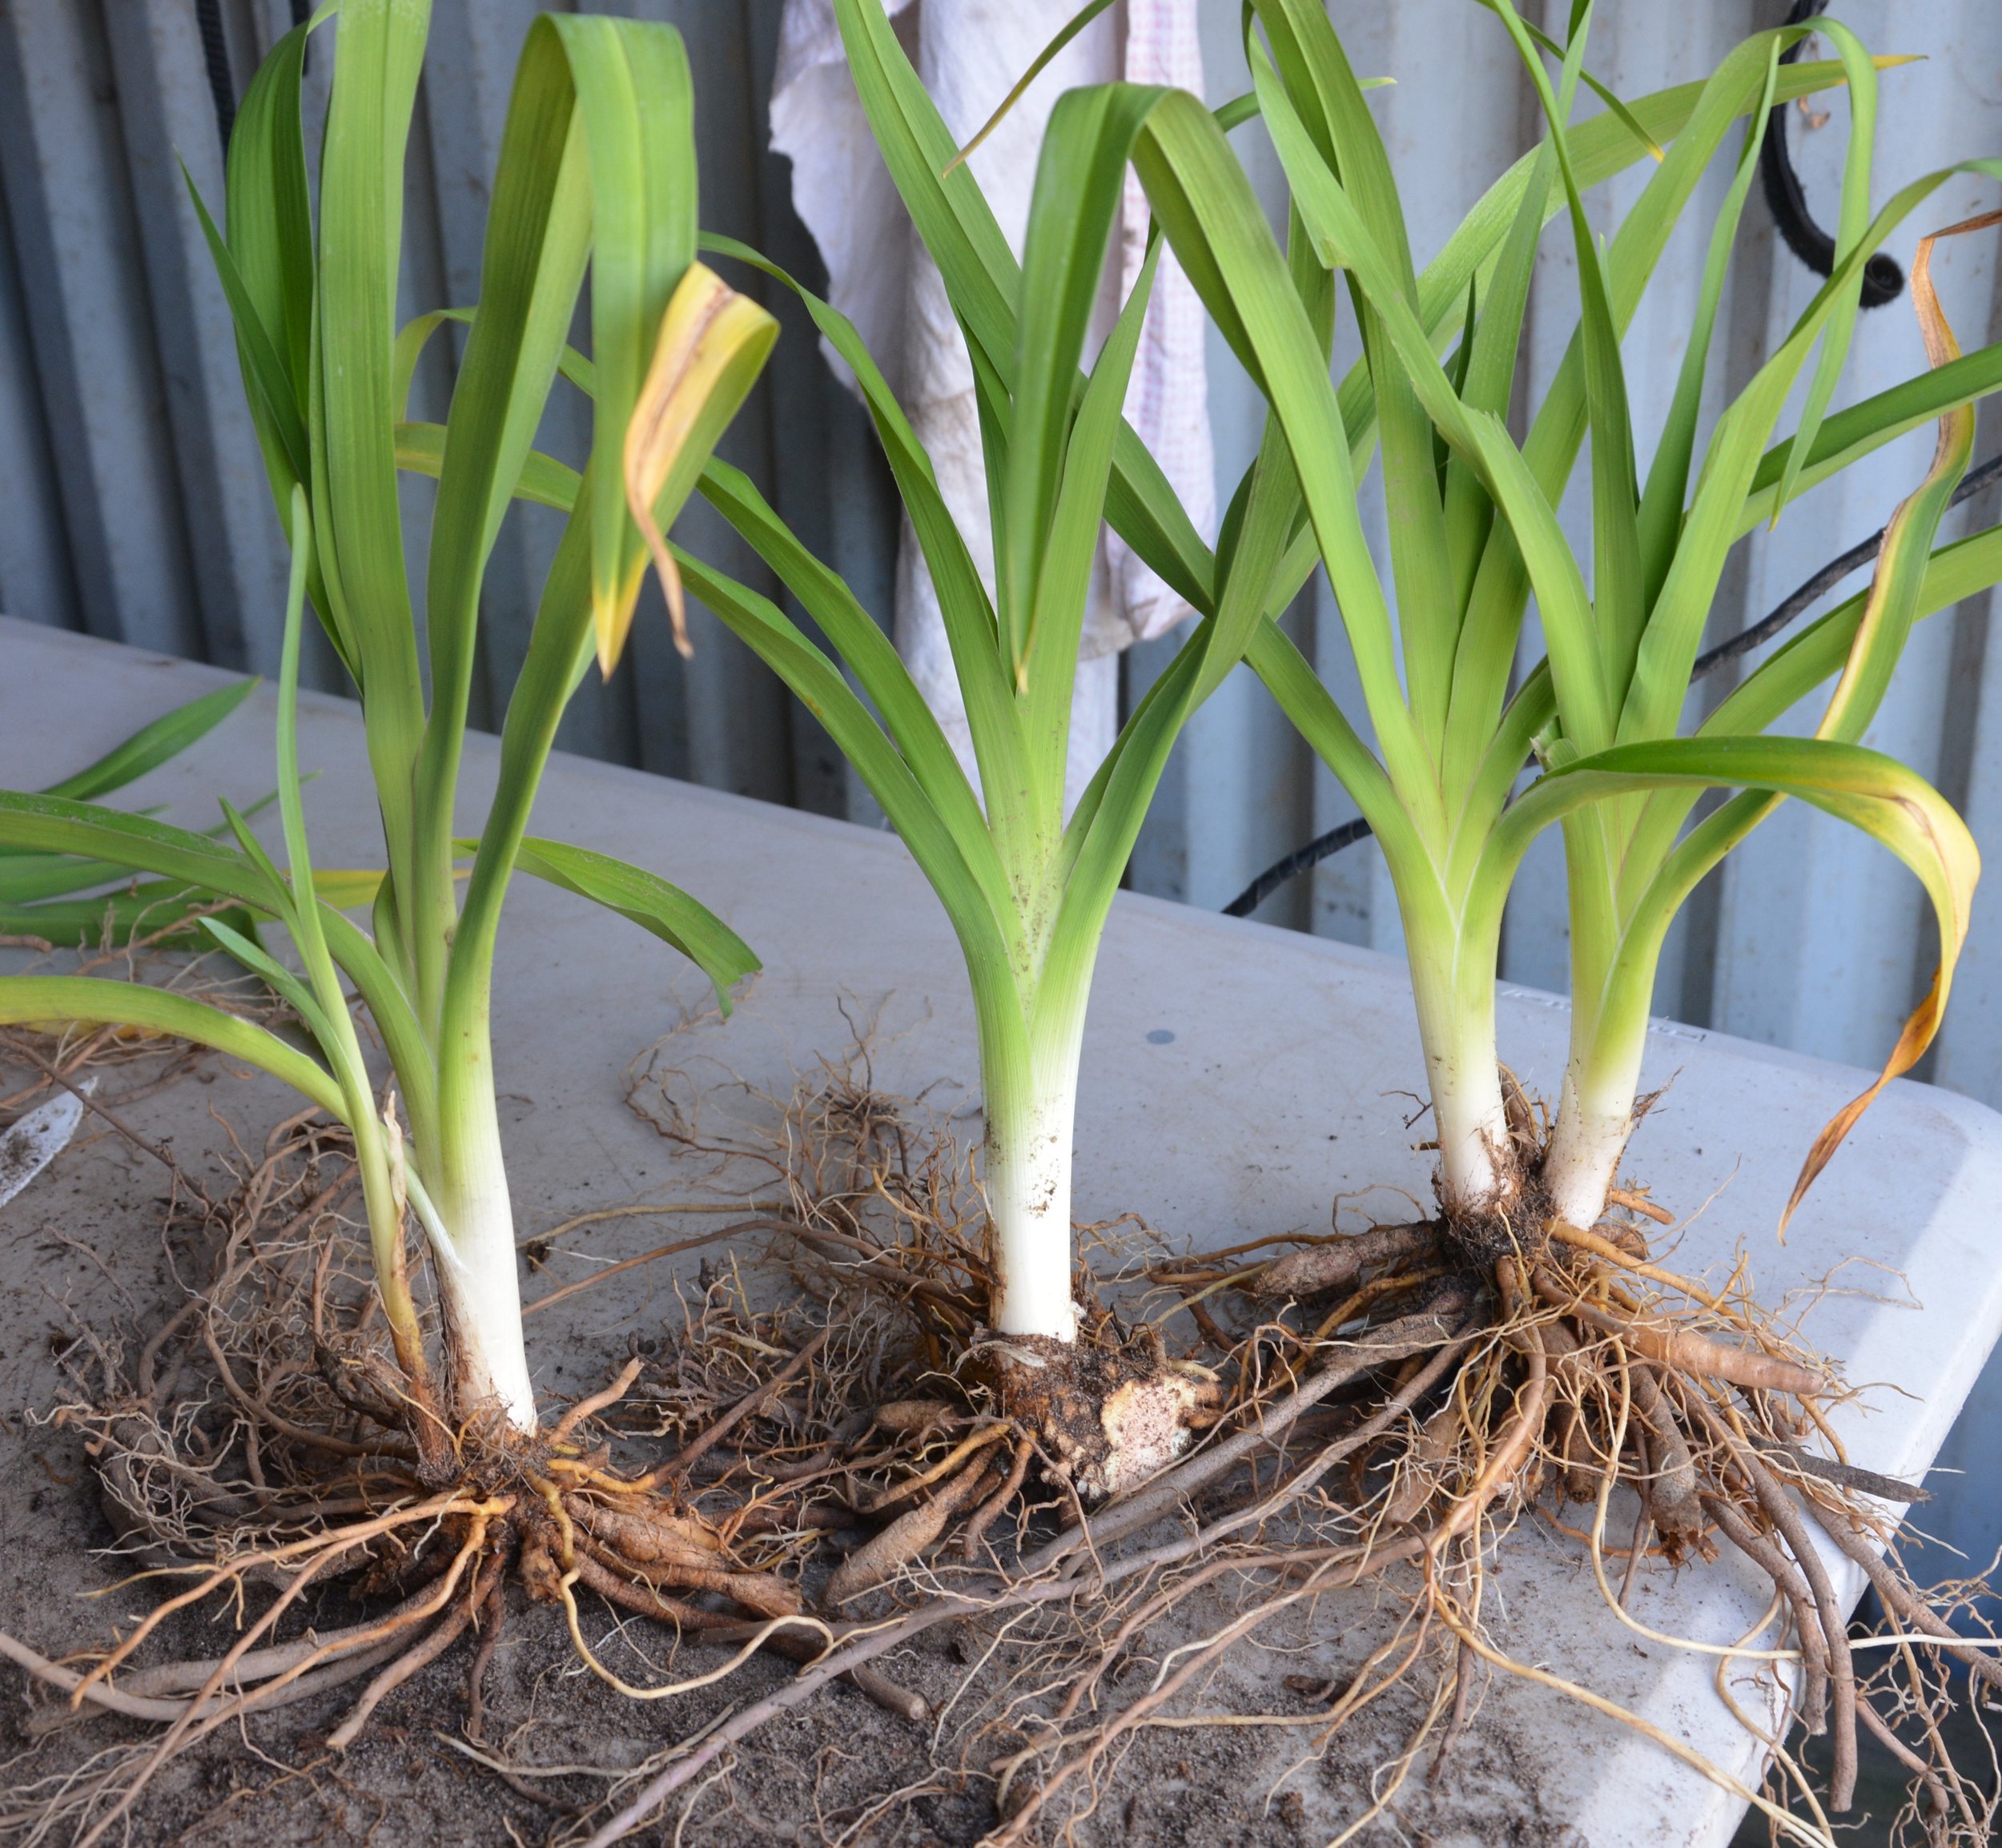
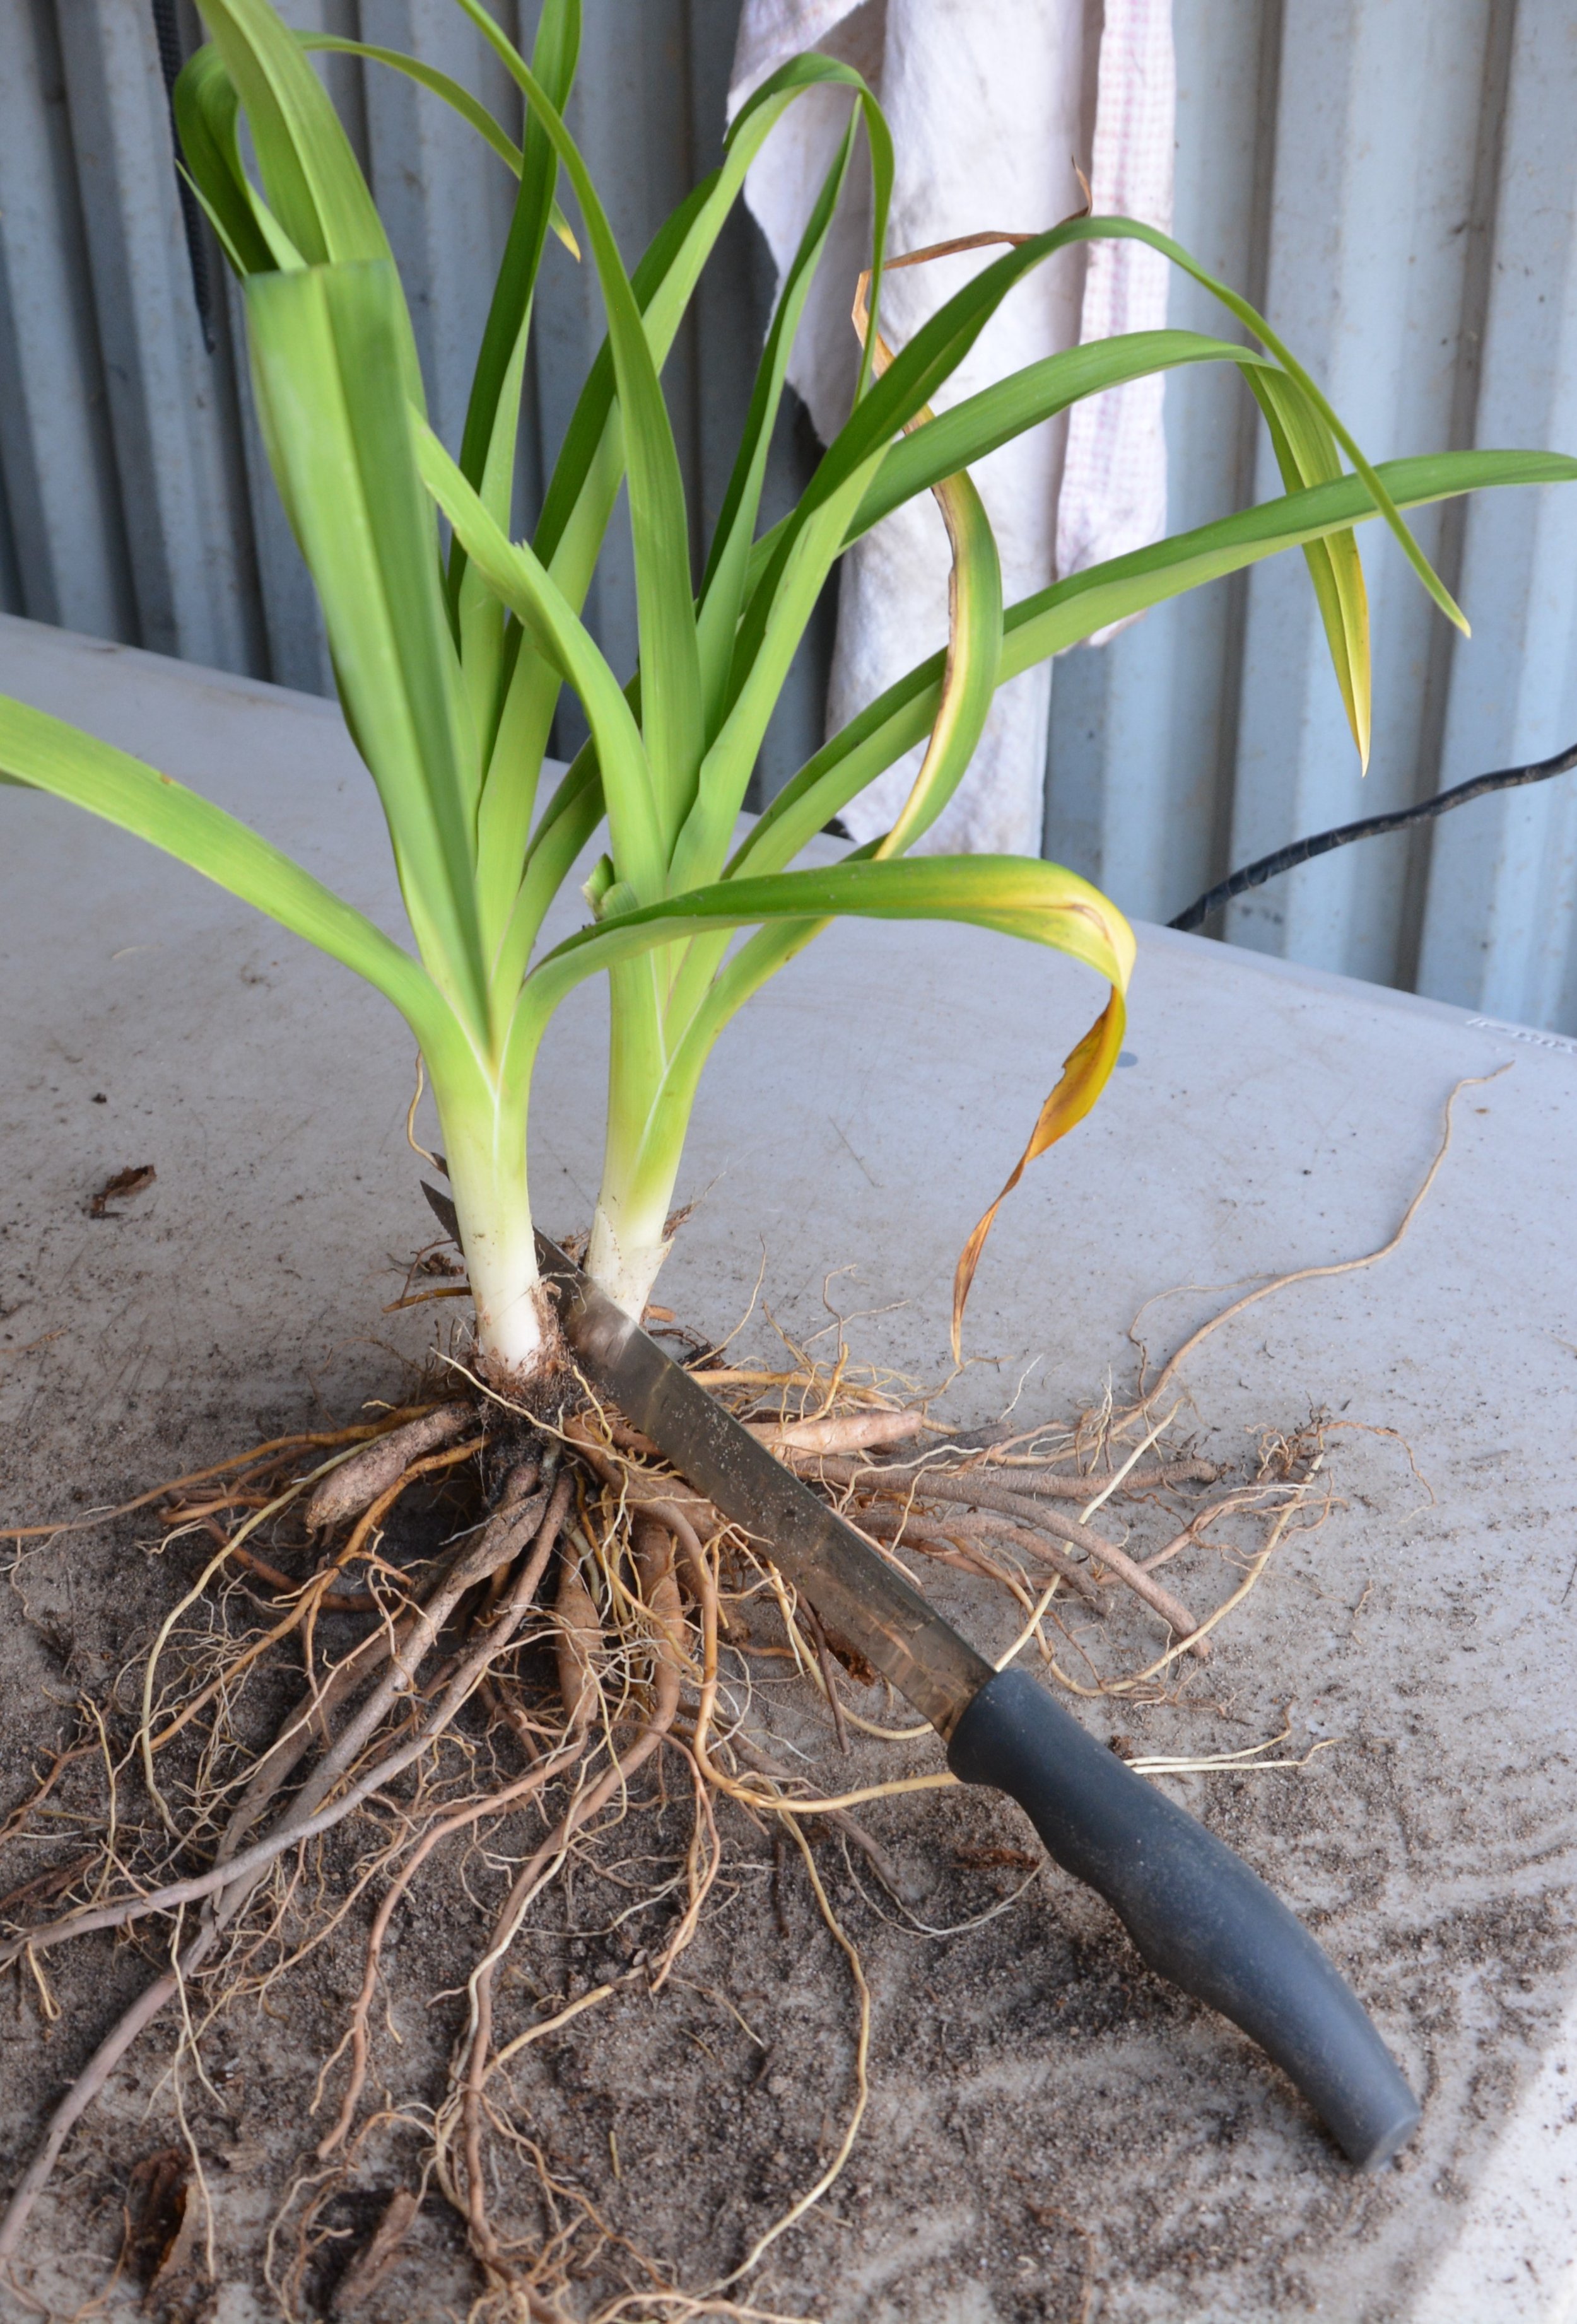
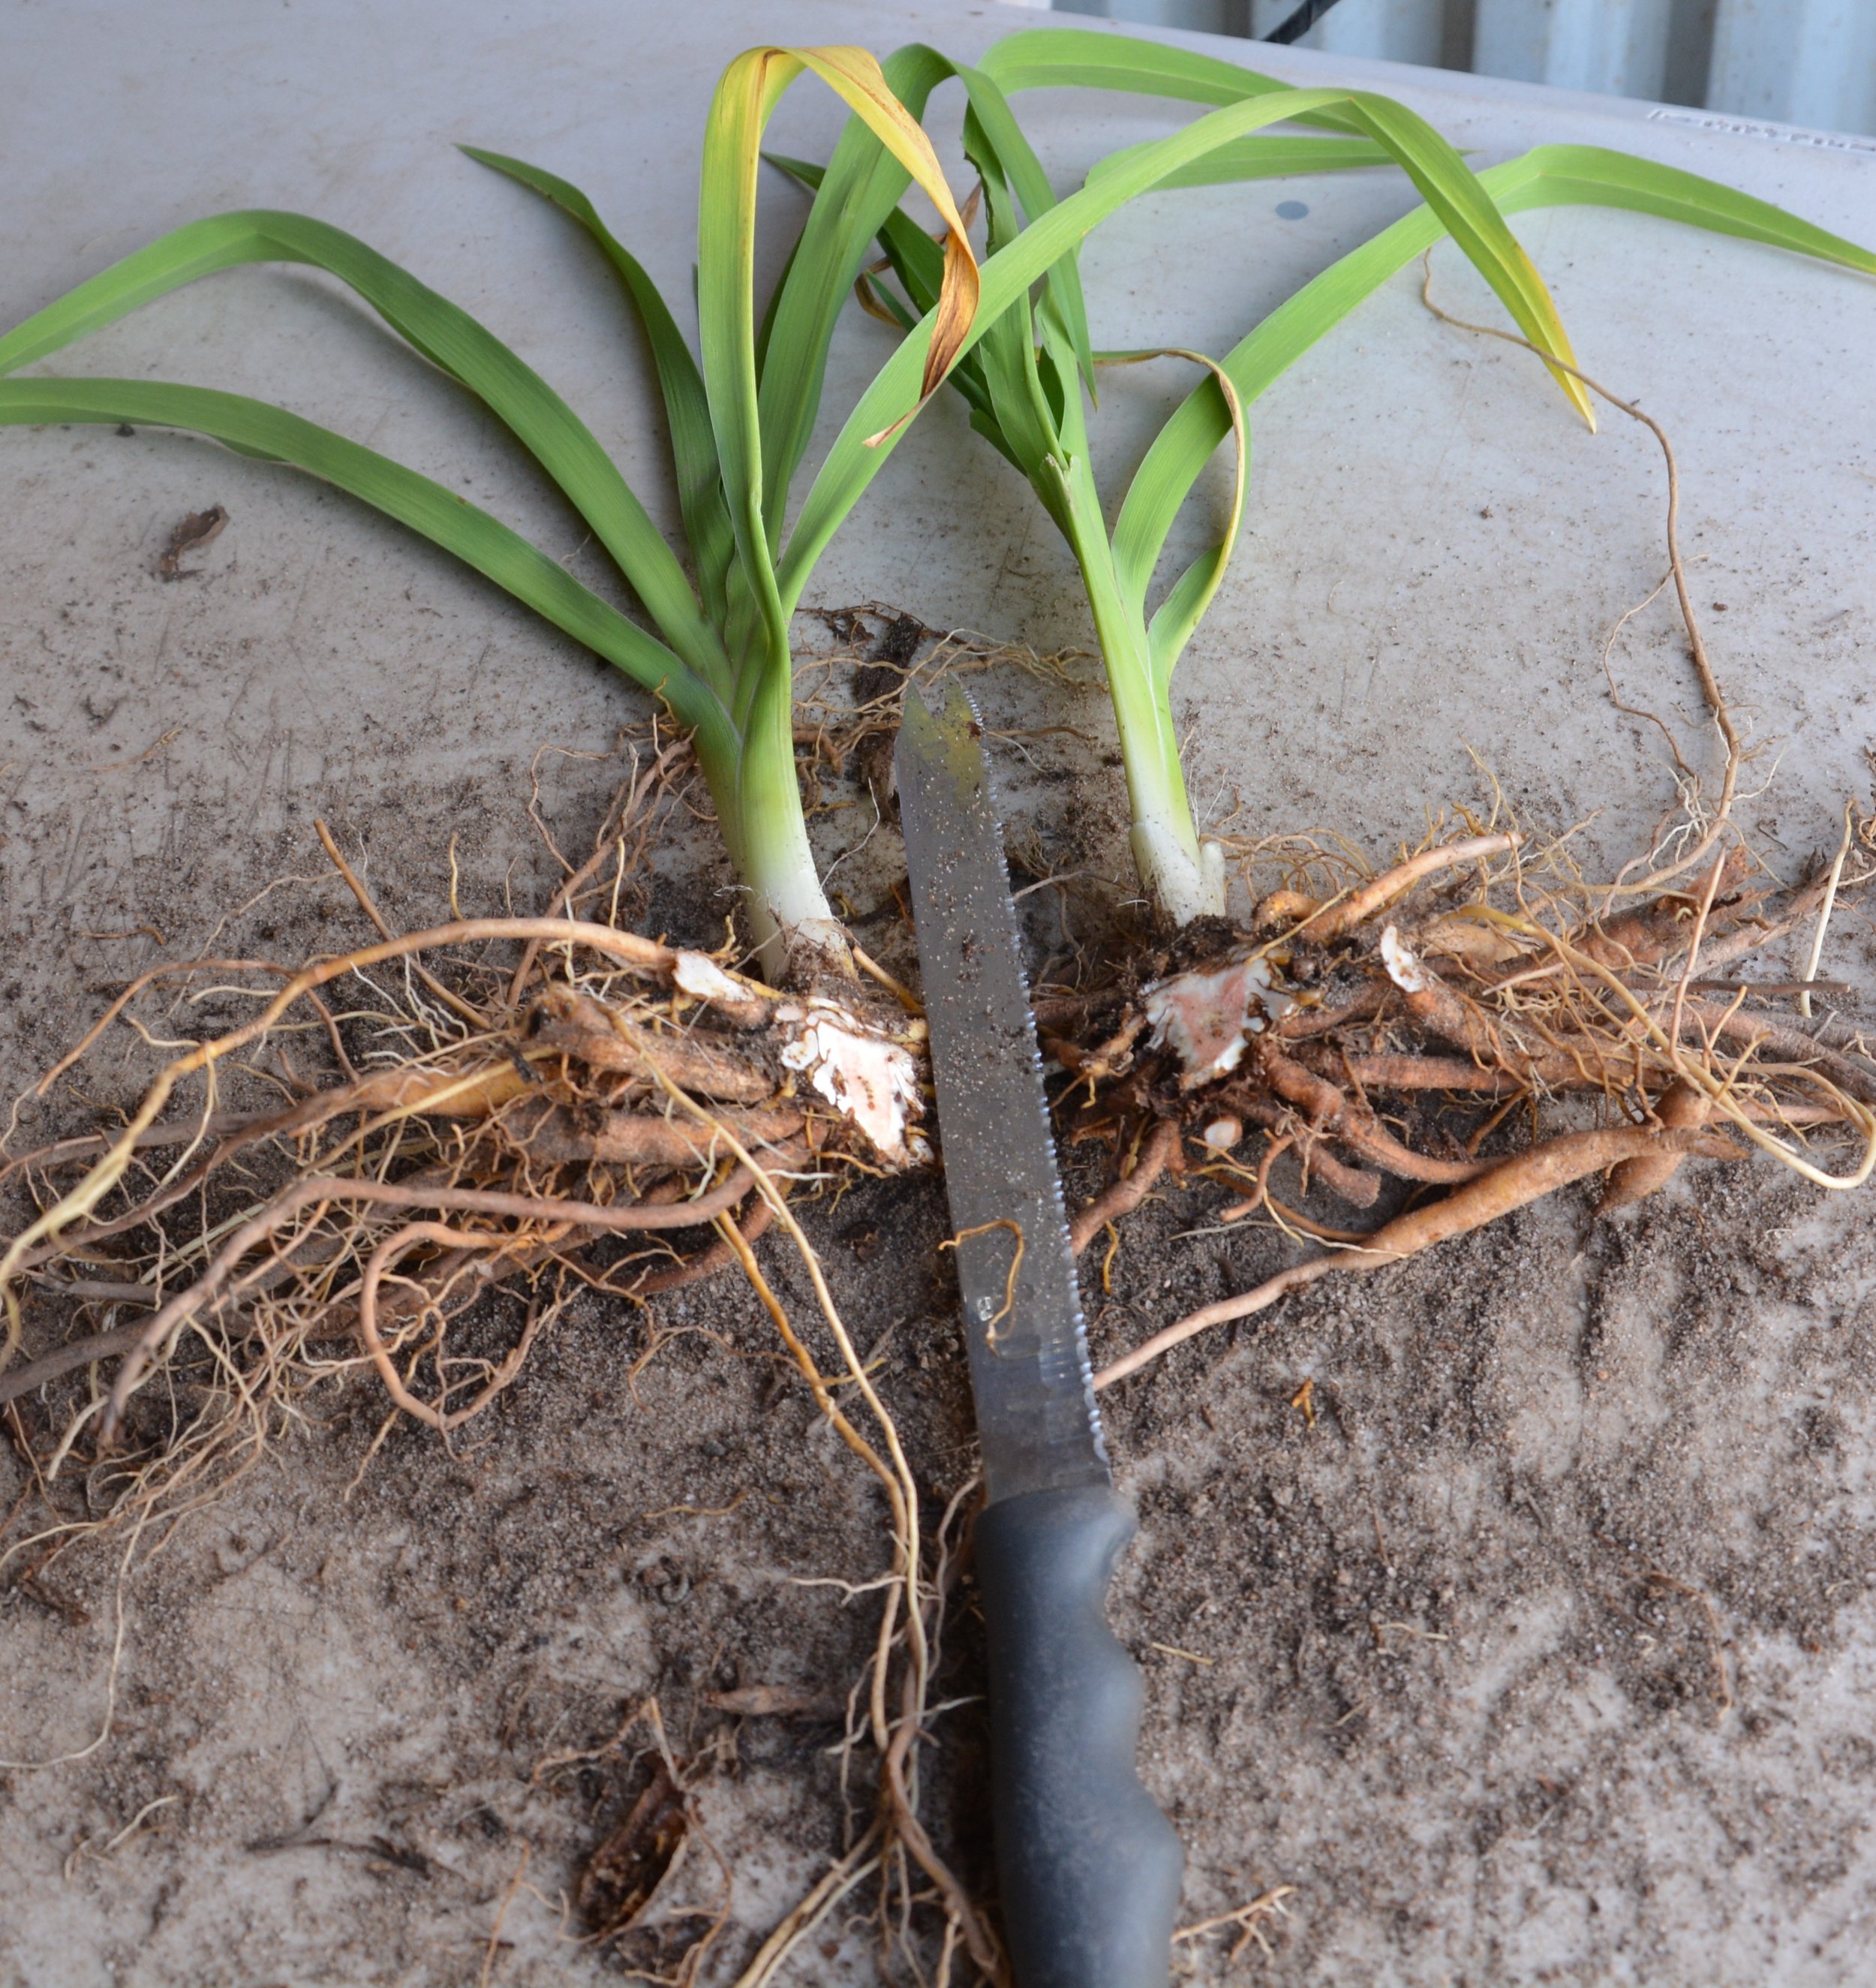
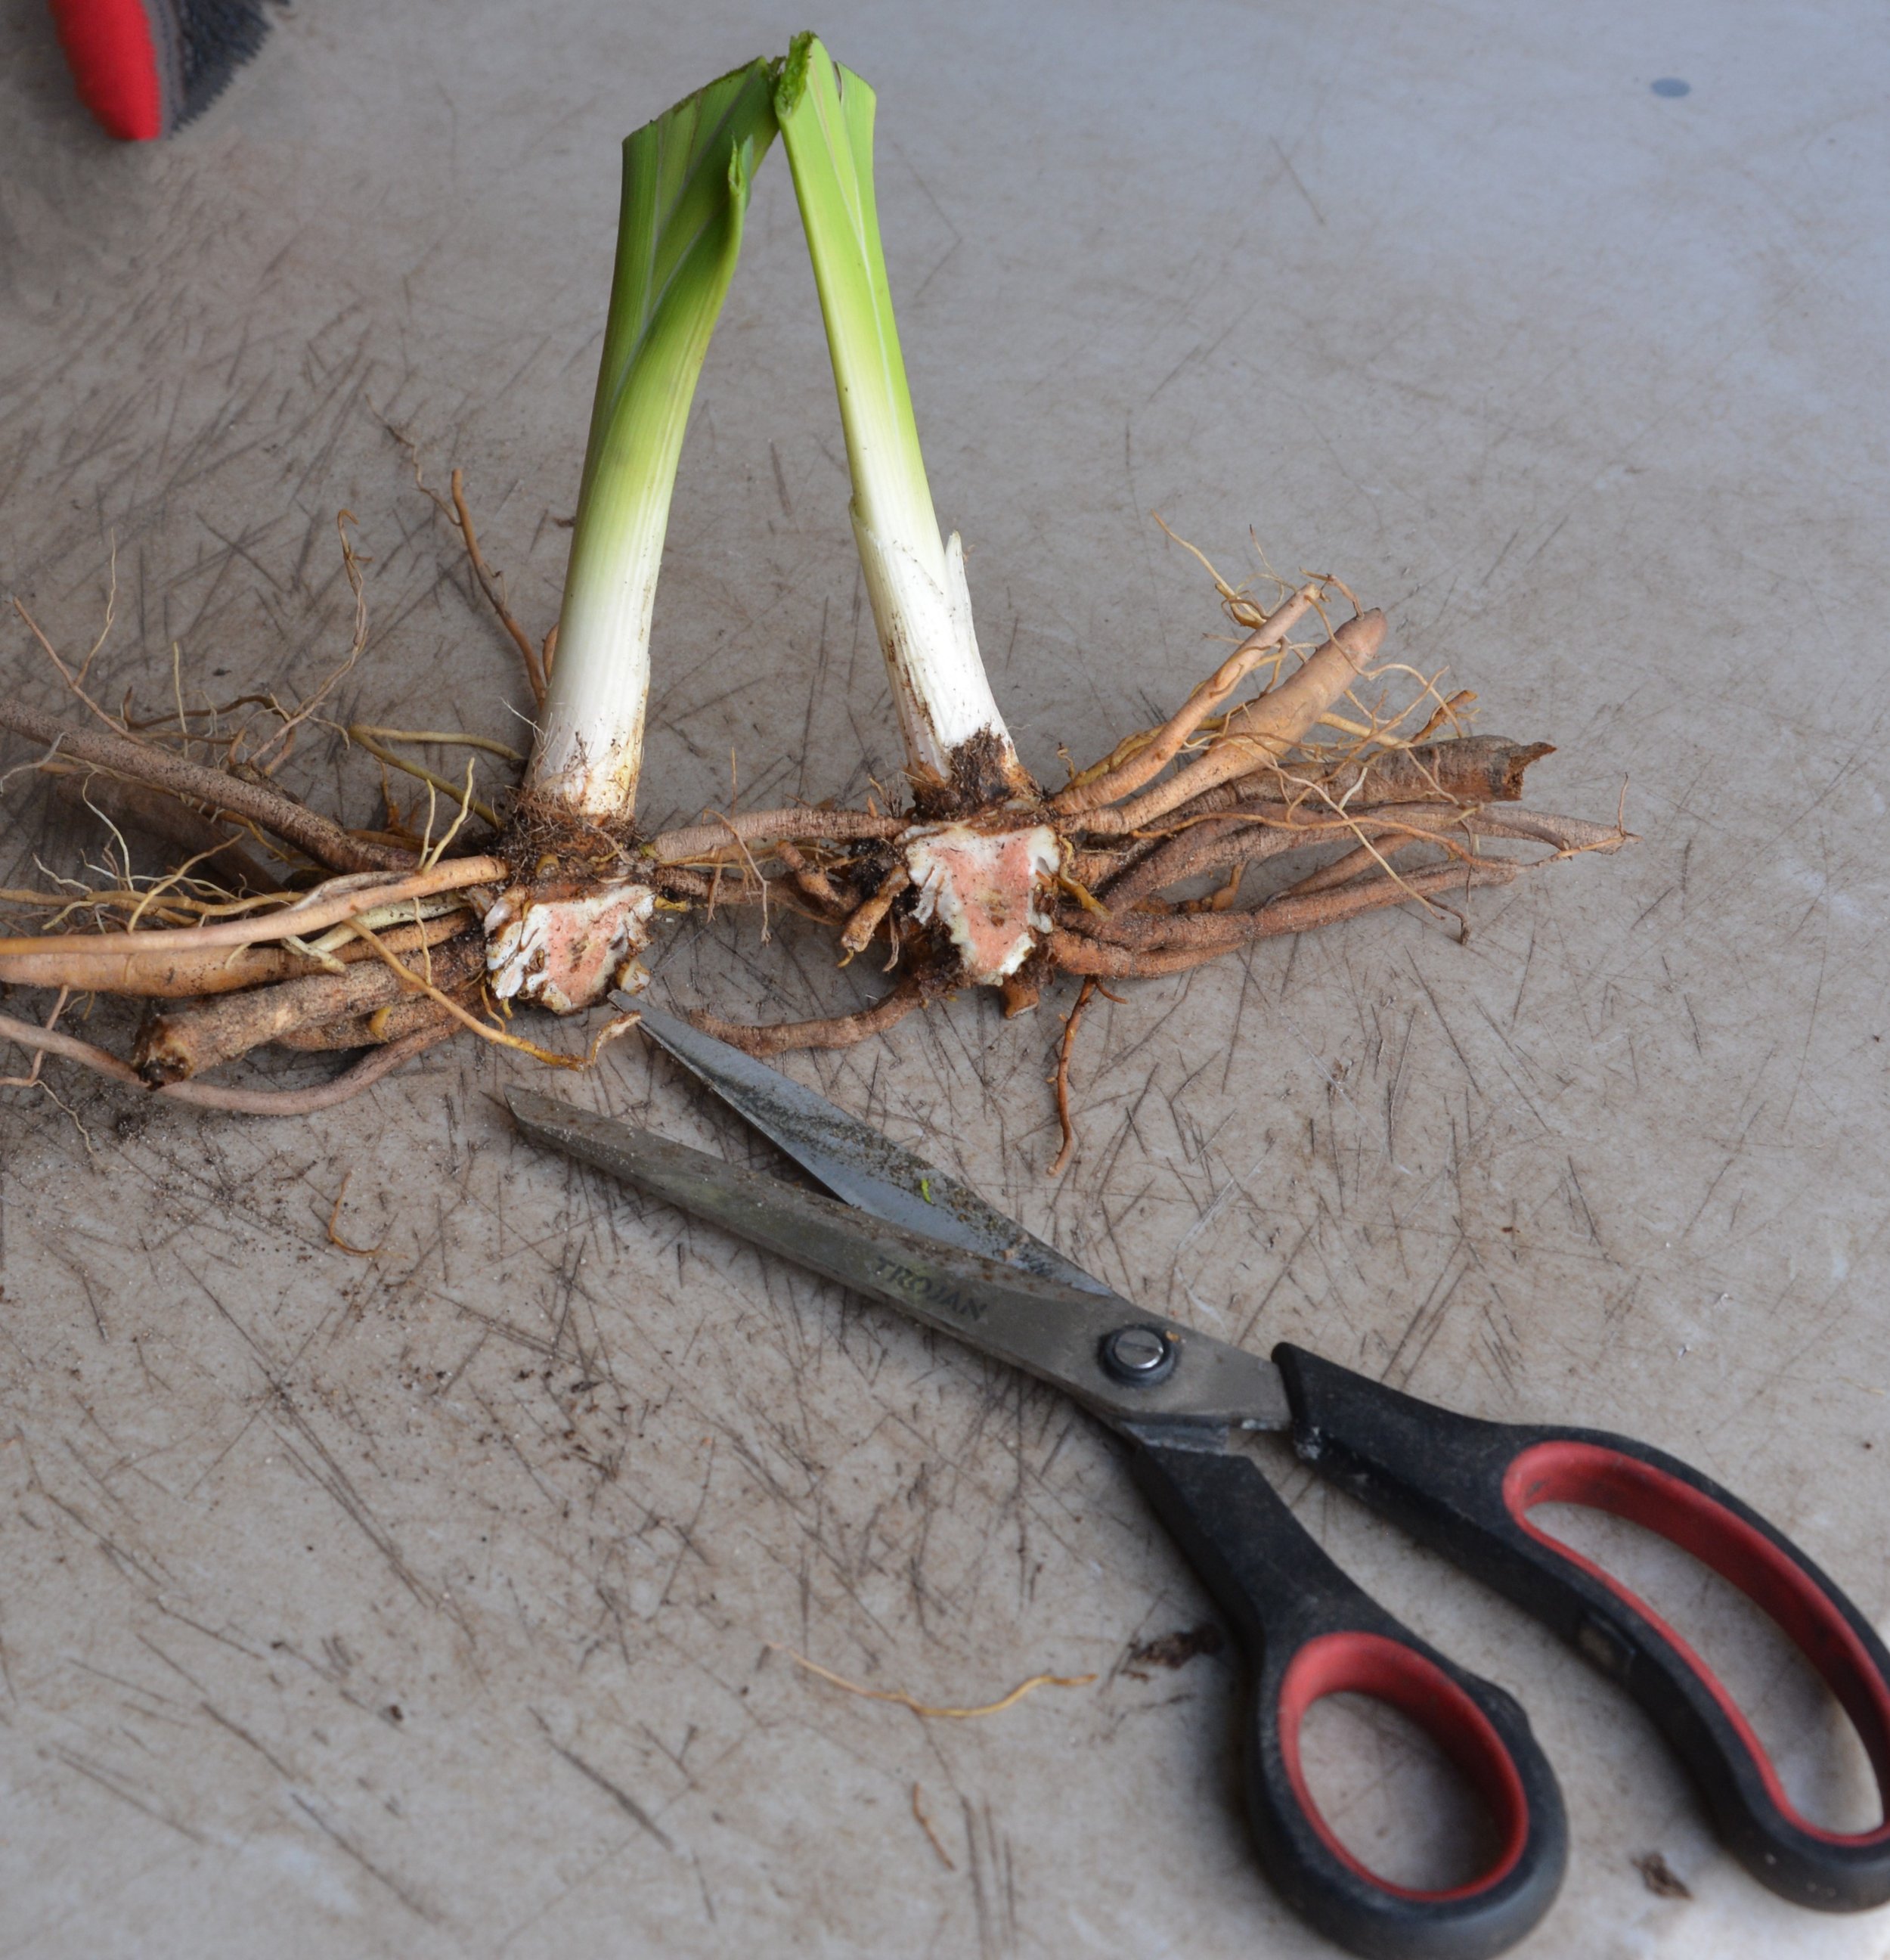
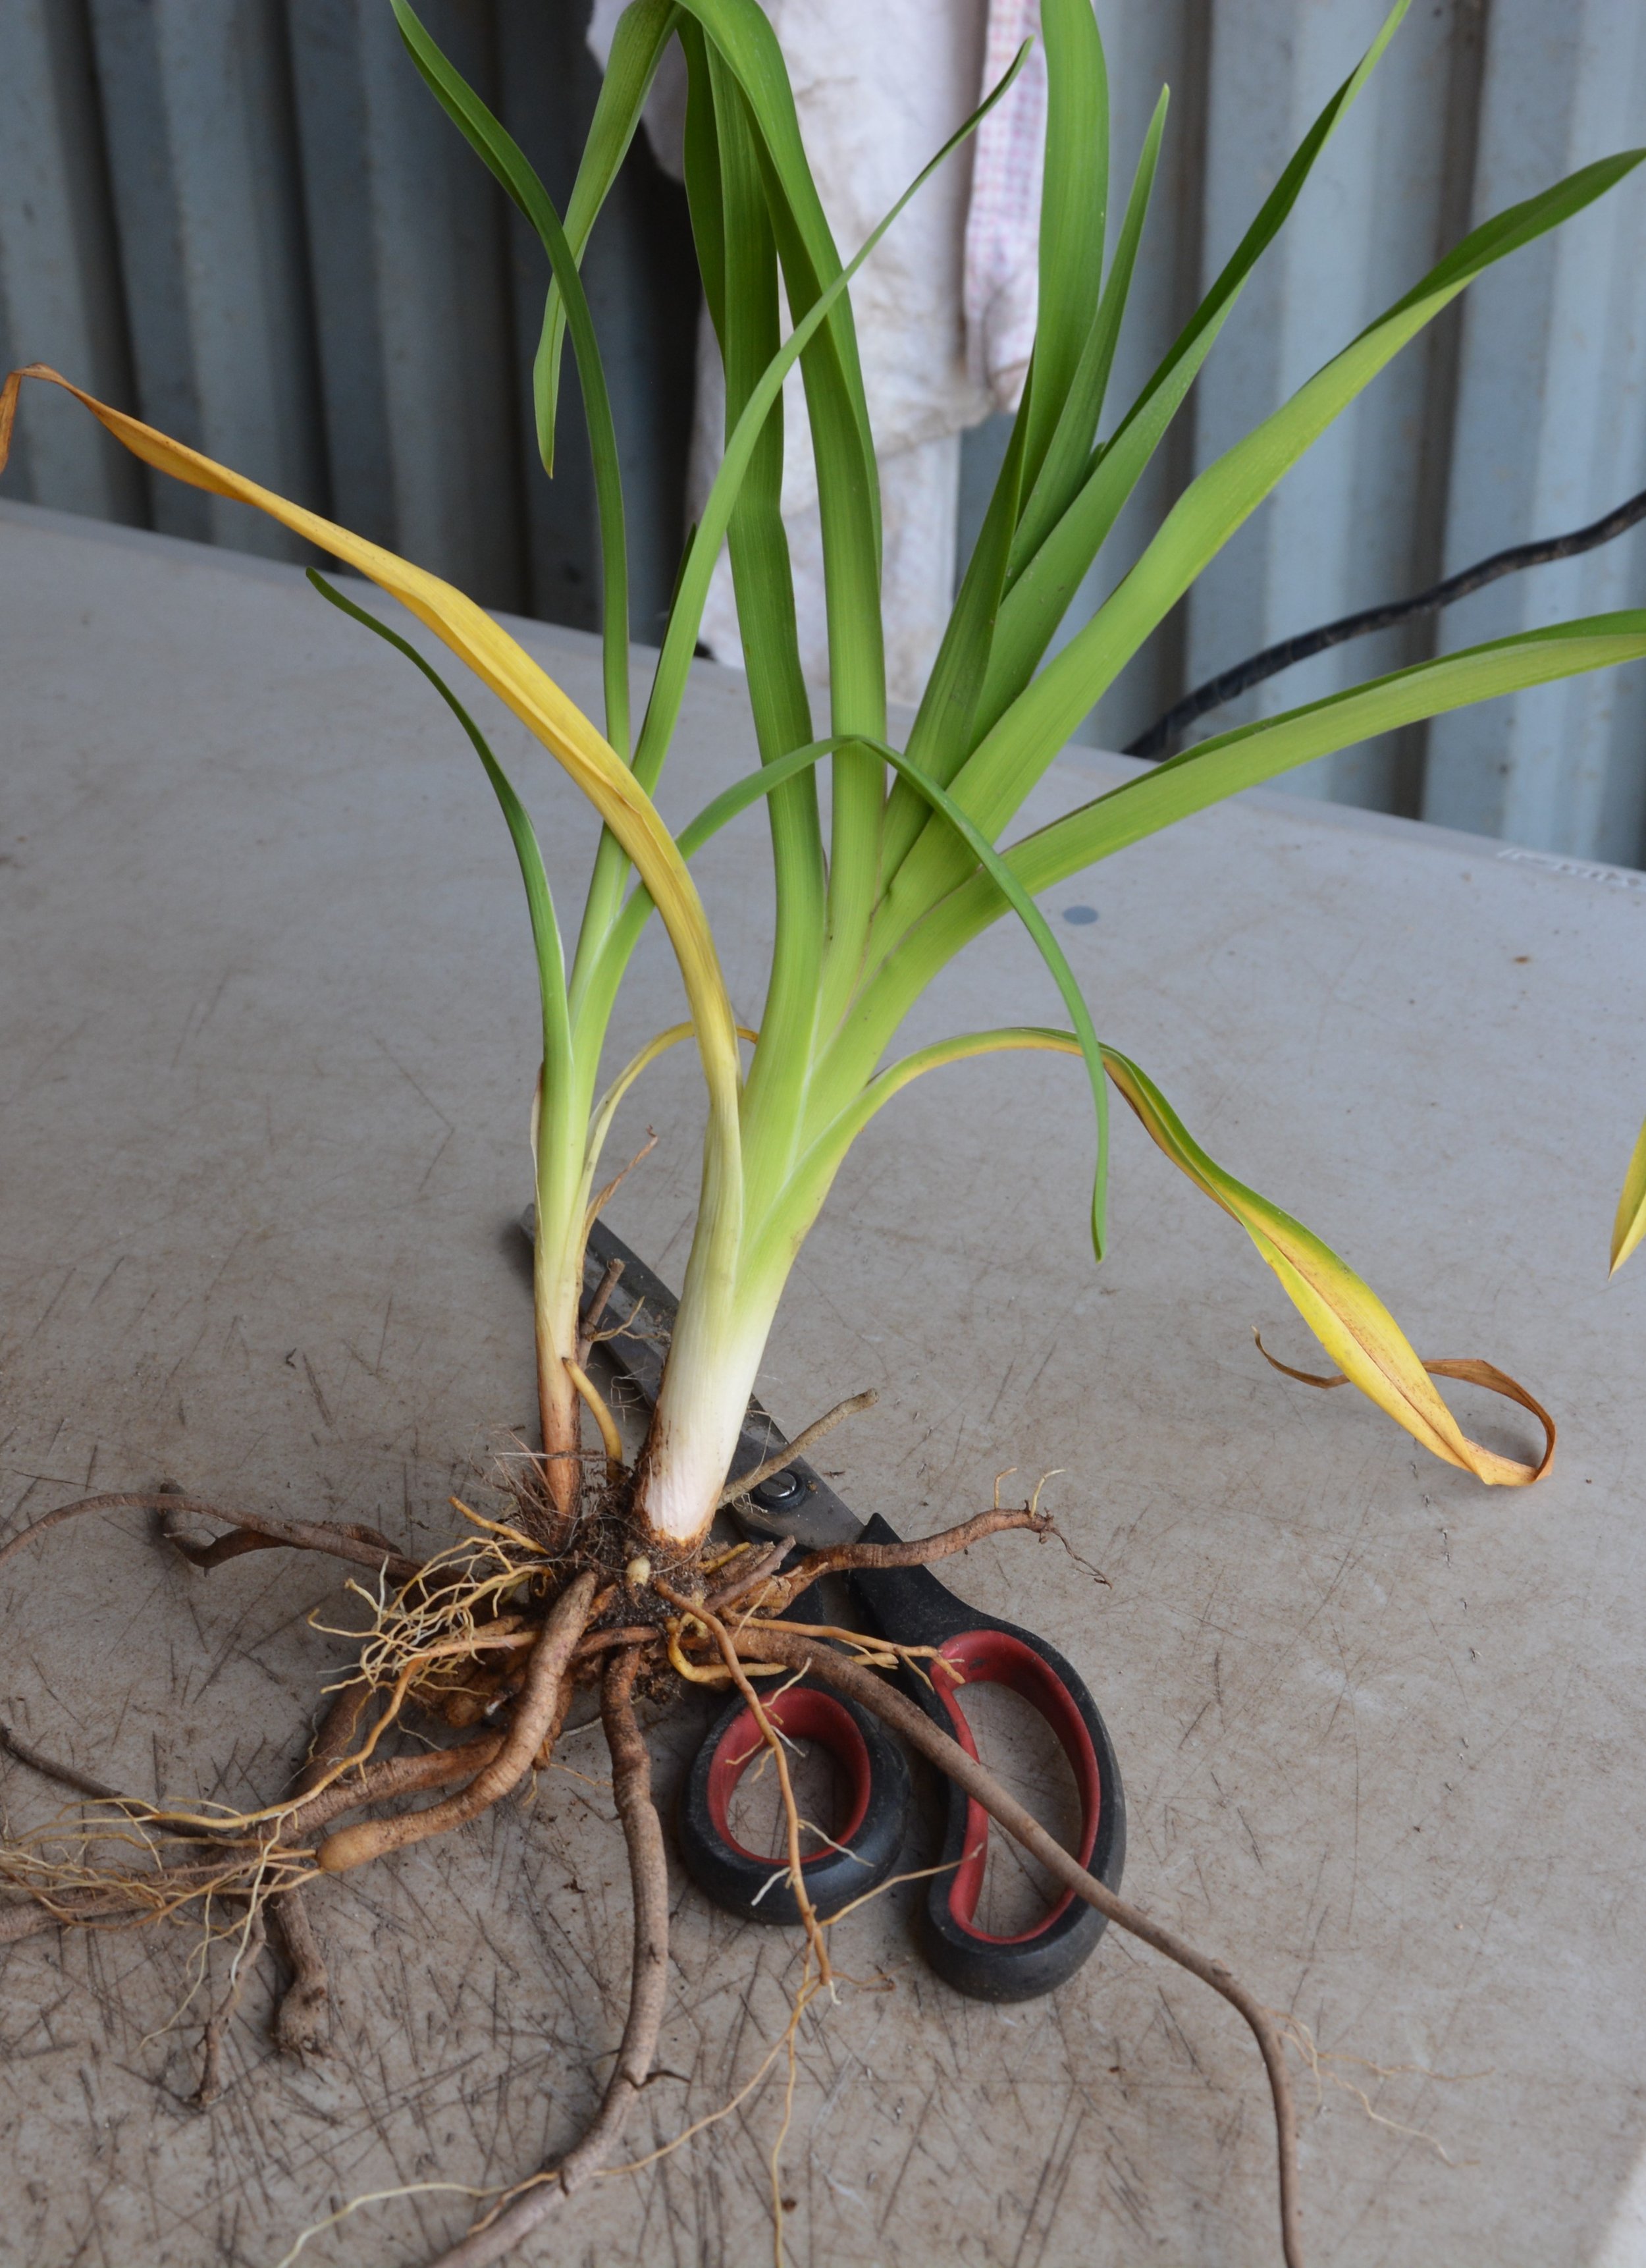
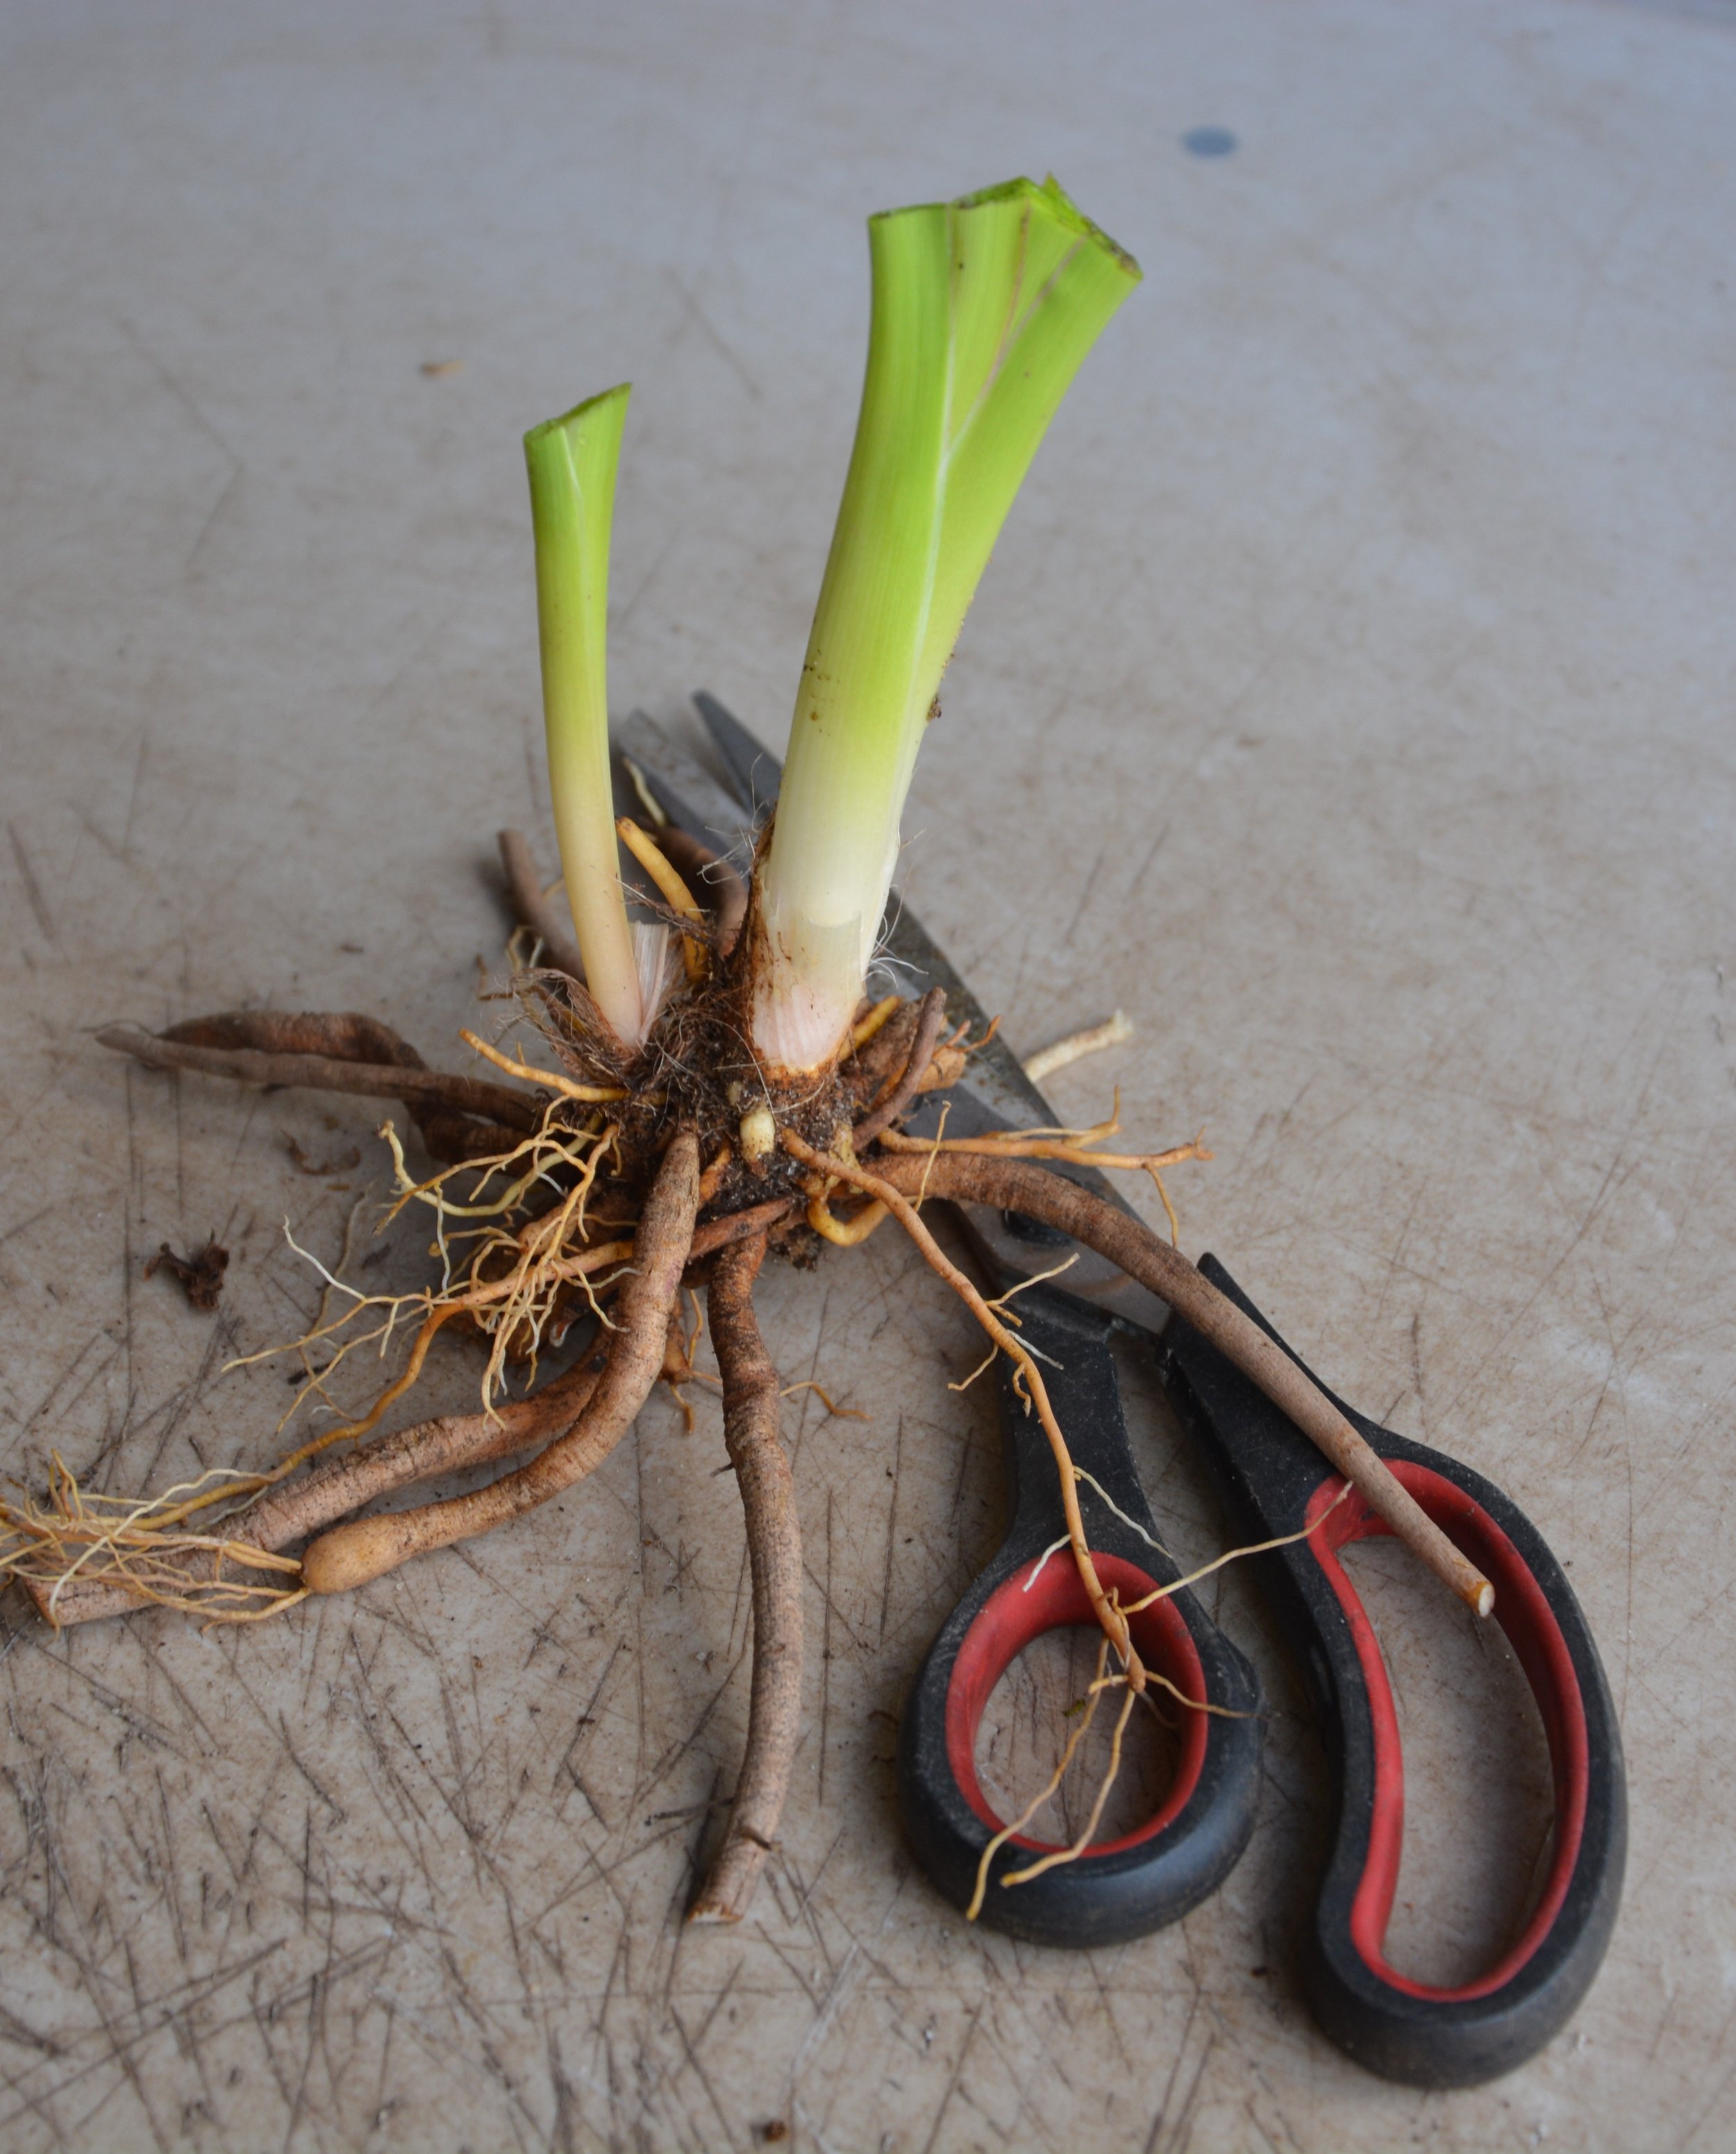
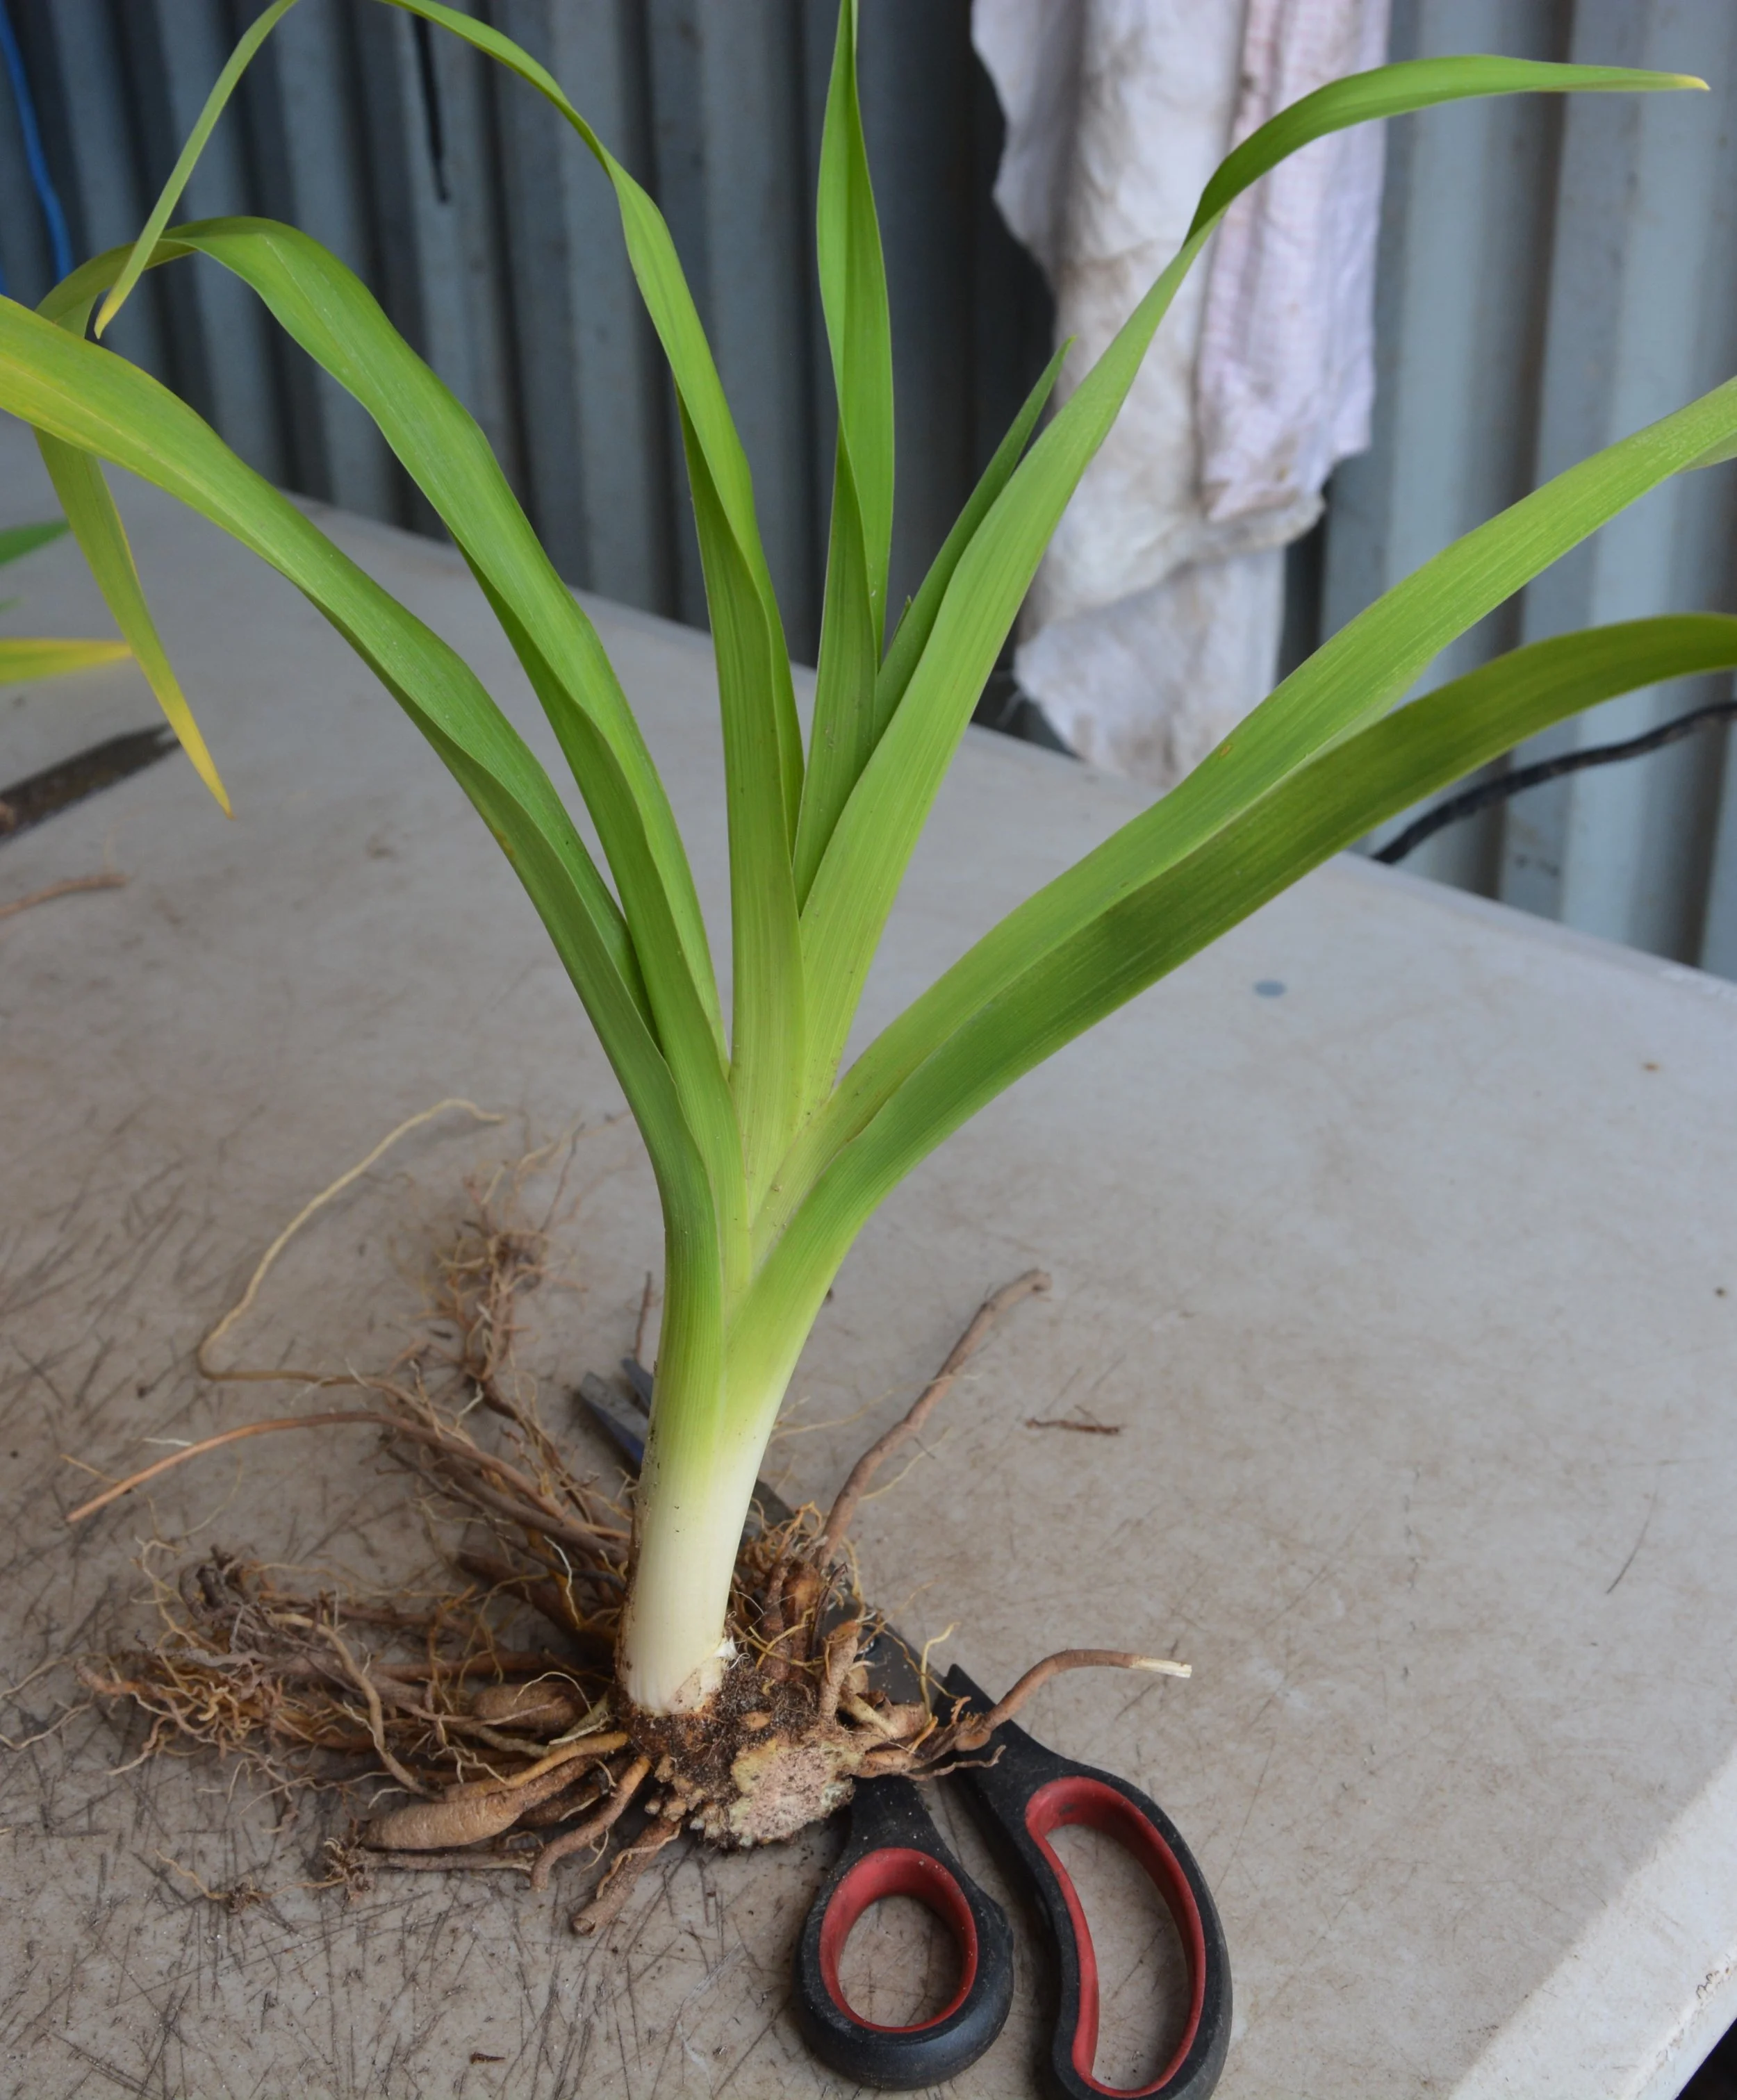
DIVIDING PLANTS: Crowded clumps will loose their vigor and flowering will decline so every 3-4 years the clump will need to be divided. You can divide daylilies at any time of the year but autumn is best. Dig the plant using a fork. Rinse off the soil so you can see where the divisions are. Sometimes individual fans can be pulled from the main clump or you can use a knife or spade to separate the clump. You do not need to separate each fan individually, you can leave 2 or 3 joined together, this will give the garden a fuller look faster. Cut all the foliage back to about 15cm and the roots as well (this will stimulate the roots to put on new growth also). Improve the soil where the plants are to go before re-planting. You should see new growth within a few weeks. Excess plants can be used in other parts of the garden or given away to friends.
FERTILISING: For best results, fertilise your plants in very early spring so they get enough energy to put on new growth and lots of beautiful flowers and then again in early autumn to replenish them after their growing and flowering season. Use a fertiliser that is designed for flowering plants and not one that is too high in nitrogen or you will get lots of leaf growth at the expense of flowers.